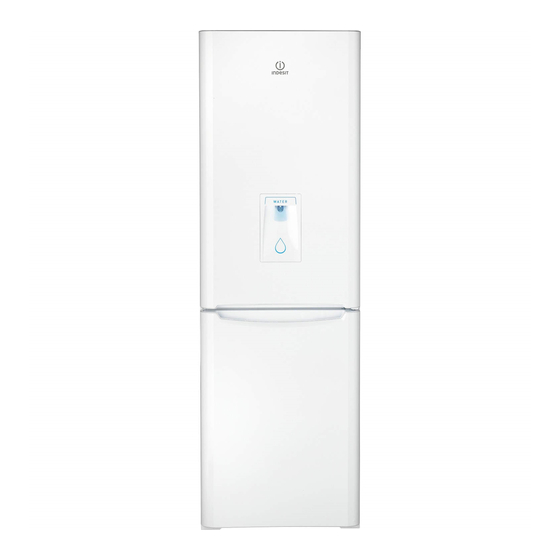
Indesit BIAA 1x WD UK Betriebsanleitung - Seite 8
Blättern Sie online oder laden Sie pdf Betriebsanleitung für Kühlschrank Indesit BIAA 1x WD UK herunter. Indesit BIAA 1x WD UK 12 Seiten. Refrigerator/freezer combination

! Do not open the door during freezing.
GB
! If there is a power cut or malfunction, do not open the freezer
door. This will help maintain the temperature inside the freezer,
ensuring that foods are conserved for at least 9 -14 hours.
! If the room temperature drops below 14°C for an extended period
of time, the ideal temperature will not be reached in the freezer
compartment and food preservation will be reduced.
*
Ice
ice tray
3
The fact that they are situated on the top part of the freezer drawers
ensures greater cleanliness: the ice no longer comes into contact
with the food placed inside the freezer compartment; furthermore,
the dripping of the water during filling is avoided (a lid to cover
up the hole after filling with water is also provided).
1. Pull out the tray by pushing it up. Check that the tray is completely
empty and fill it with water through the opening provided.
2. Take care not to exceed the level indicated (MAX WATER
LEVEL). Excess water prevents the ice cubes from dispensing
(if this happens, wait for the ice to melt and empty the tray).
3. Turn the tray 90°: due to the connected compartments each
mould fills with water (see diagram).
4. Close the opening with the lid provided and put the tray back,
placing the top part in the corresponding housing and allowing
it to drop in again.
5. When the ice has formed (minimum time approximately 8 hours)
knock the tray against a hard surface and wet the outside so
that the ice cubes come loose and take them out through the
opening.
Maintenance and care
Switching the appliance off
During cleaning and maintenance it is necessary to disconnect
the appliance from the electricity supply.
It is not sufficient to set the temperature adjustment knobs on
(appliance off) to eliminate all electrical contact.
Cleaning the appliance
• The external and internal parts, as well as the rubber seals may
be cleaned using a sponge that has been soaked in lukewarm
water and bicarbonate of soda or neutral soap. Do not use
solvents, abrasive products, bleach or ammonia.
PLEASE PHONE US TO REGISTER YOUR APPLIANCE AND ACTIVATE YOUR 5 YEAR PARTS GUARANTEE ON 08448 24 24 24
8
• The removable accessories may be soaked in warm water and
soap or dishwashing liquid. Rinse and dry them carefully.
• The back of the appliance may collect dust which can be
removed by delicately using the hose of a vacuum cleaner set
on medium power. The appliance must be switched off and
the plug must be pulled out before cleaning the appliance.
Avoiding mould and unpleasant odours
• The appliance is manufactured with hygienic materials which
are odour free. In order to maintain an odour free refrigerator
and to prevent the formation of stains, food must always be
covered or sealed properly.
• If you want to switch the appliance off for an extended period
of time, clean the inside and leave the doors open.
Defrosting the appliance
! Follow the instructions below.
Do not speed up the defrosting process by using any devices or
tools other than the scraper provided (available only on certain
models), you may damage the refrigeration circuit.
Defrosting the refrigerator compartment
The refrigerator has an automatic defrosting function: water is
ducted to the back of the appliance by a special discharge outlet
(see diagram) where the heat produced by the compressor causes
it to evaporate. It is necessary to clean the discharge hole regularly
so that the water can flow out easily.
MAX
WATER LEVEL
Defrosting the freezer compartment
If the frost layer is greater than 5 mm, it is necessary to defrost
manually:
1. Set the TEMPERATURE ADJUSTMENT knob to the position
.
2. Wrap frozen foods in newspaper and place them in another
freezer or in a cool place.
3. Leave the door open until the frost has melted completely. This
can be made easier by placing containers with lukewarm water
in the freezer compartment.
4. Clean and dry the freezer compartment carefully before
switching the appliance on again.
5. Certain appliances are fitted with the DRAIN SYSTEM to lead
the water outside: let the water flow into a container (see
diagram).
