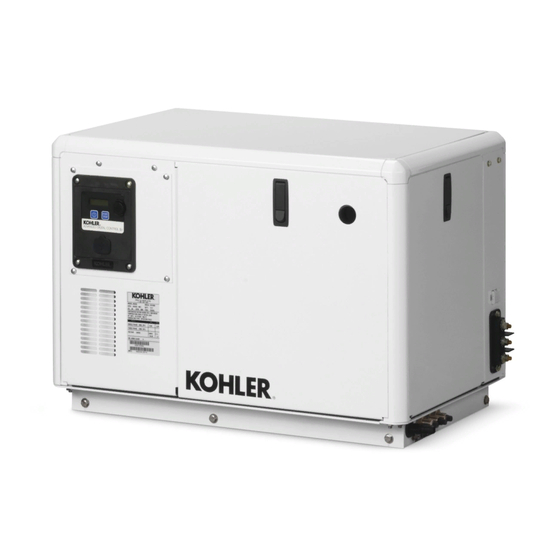
Kohler 6EKOD Installationsanleitung Handbuch - Seite 6
Blättern Sie online oder laden Sie pdf Installationsanleitung Handbuch für Tragbarer Generator Kohler 6EKOD herunter. Kohler 6EKOD 16 Seiten. Marine with adciid controller
Auch für Kohler 6EKOD: Einbauanleitung (4 seiten), Installationsanleitung Handbuch (13 seiten)

6.
Unit Configuration Procedure
6.1
Press and hold the MODE button for 5 seconds to
enter the configuration menu.
6.2
Press the MODE button again to prompt—SAE—
for English or —EURO— for Metric unit selection.
Units displayed in English will show temperature in
Fahrenheit (
_
F) and pressure in psi (pounds per square
inch). Units displayed in metric will show temperature in
_
Celsius (
C) and pressure in kilopascal (kPa). See
Figure 10.
Selection
English Units
Temperature
_
F (Fahrenheit)
Pressure
psi (pounds per
square inch)
Figure 10 Configuration Menu Unit Selections
6.3
Use the START arrow (up) button Y or STOP
arrow (down) button B to select English or Metric
units. See Figure 9.
6.4
After all selections have been made, press the
MODE button for five seconds to save the
configuration. Afterwards, the gauge will exit the
configuration mode.
6.5
After making all selections, wait 30 seconds
before pressing the gauge again in order to save
the configuration and exit the configuration mode.
Fault Codes
Refer to the Fault Codes section to see the descriptions
of displayed faults.
Gauge Operation
7.
Pushbuttons
Three pushbuttons control the gauge functions. See
Figure 11:
MODE button: Used to change the function of the
D
LCD display and access submenus and adjust
settings.
START arrow (up) button Y: Used to move between
D
screens, start the generator, and modify settings.
STOP arrow (down) button B:
D
between screens, stop the generator, and modify
settings.
6
Metric Units
_
C (Celsius)
kPa (kilopascal)
Used to move
4
1. START (up) arrow button
2. MODE pushbutton
3. STOP (down) arrow button
4. LCD display
Figure 11 Gauge Pushbuttons
8.
Operating Mode Description
The gauge receives information from the generator set's
controller. The gauge is powered through the generator
set's starting battery.
See Figure 12 for illustrations of display screens for the
various LCD screen modes.
operating modes:
Wakeup Mode: Press any pushbutton on the gauge
D
to activate wakeup mode. Once the gauge is
activated, the LCD screen will display a KPS code for
three seconds. See Figure 12.
Note: If the controller power button is OFF, the
gauge will not be able to wake the
controller.
Normal Mode: This mode displays the following
D
generator status parameters when the generator set
is running:
Hours
D
Engine Speed
D
Battery Voltage
D
AC Frequency
D
AC Voltage
D
Engine Temperature
D
1
2
3
The gauge has five
TT-1715
2/17
