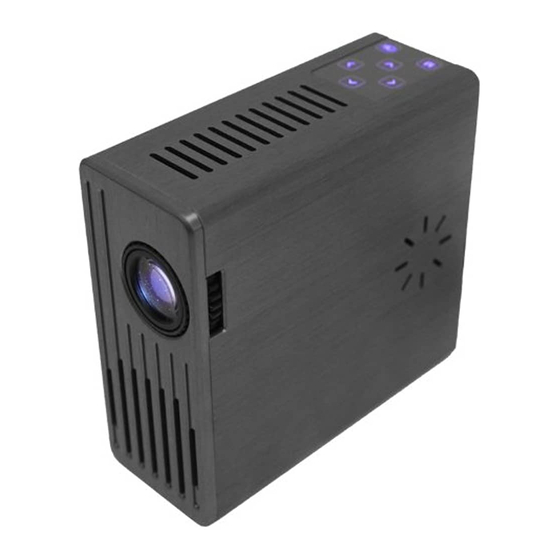
AAXA Technologies M1 Standard Benutzerhandbuch - Seite 8
Blättern Sie online oder laden Sie pdf Benutzerhandbuch für Projektor AAXA Technologies M1 Standard herunter. AAXA Technologies M1 Standard 16 Seiten.
Auch für AAXA Technologies M1 Standard: Benutzerhandbuch (17 seiten), Benutzerhandbuch (18 seiten), Spezifikationen (2 seiten), Spezifikationen (2 seiten)
Connecting an Audio/Video input source - The Projector can accept different
Connecting an Audio/Video input source - The Projector can accept different
A/V (Audio/Video) sources through the A/V port. These sources are connected
A/V (Audio/Video) sources through the A/V port. These sources are connected
through a 3.5mm A/V cable.
through a 3.5mm A/V cable.
To connect an A/V cable insert the
To connect an A/V cable insert the 3.5mm portion into the A/V port of the
3.5mm portion into the A/V port
projector. Then click on either the "A/V input" icon in the main menu, or press
of the projector. Then click on
"source" on the remote control and select "A/V input". A blue screen will appear
and the Projector will be ready to accept an A/V signal.
either the "A/V input" icon in the
main menu, or press "source" on
the remote control and select "A/V
input" . A blue screen will appear
and the Projector will be ready to
accept an A/V signal.
Possible A/V sources: Composite (included), Iphone / Ipod (optional), Zune
Possible A/V sources: Composite (included), Iphone / Ipod (optional), Zune (op-
(optional), Playstation Portable (optional), and others. Please check
tional), Playstation Portable (optional), and others. Please check www.aaxatech.
www.aaxatech.com
com or your AAXA dealer for optional A/V cables.
CONNECTING TO USB DISPLAY
USB-Display is not supported on the "standard" model of the M1 projector.
Third party software is available to enable the USB Display feature. However
AAXA Technologies does not support the USB Display feature. Please visit our
website for more information at www.aaxatech.com.
To connect an A/V cable insert the 3.5mm portion into the A/V port of the
projector. Then click on either the "A/V input" icon in the main menu, or press
"source" on the remote control and select "A/V input". A blue screen will appear
and the Projector will be ready to accept an A/V signal.
MAXIMUM SUPPORTED RESOLUTIONS
MAXIMUM SUPPORTED RESOLUTIONS
NTSC: 720x480
PAL: 720x576
or your AAXA dealer for optional A/V cables.
9
8
NTSC: 720x480
PAL: 720x576
9