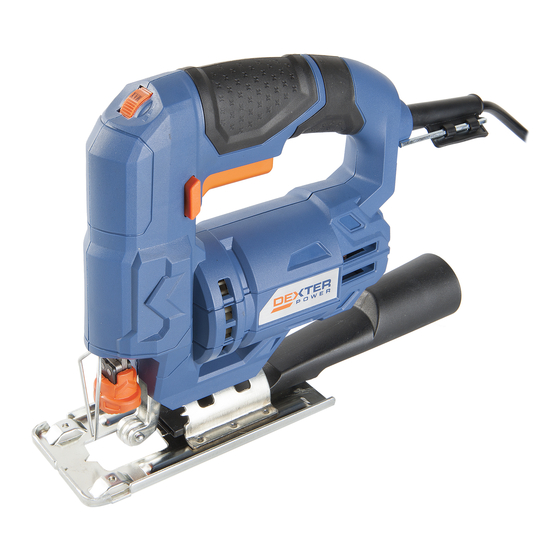
Dexter Power NC500JS Benutzerhandbuch - Seite 15
Blättern Sie online oder laden Sie pdf Benutzerhandbuch für Kabellose Säge Dexter Power NC500JS herunter. Dexter Power NC500JS 20 Seiten.

Angle adjustment
Fig.3a & 3b
The jig saw shoe plate base can be angled to enable bevel or chamfer cuts.
WARNING: Always ensure the tool is switched off and the plug is removed before making any adjustments or maintenance
procedures.
1. Turn the product upside down.
2. Use the hex key to loosen the hex screws securing the blade guide assembly and the shoe plate.
3. Move the base plate backwards so that the teeth on the plate no longer engage with the retaining teeth and the shoe can be
tilted to the left or right. Choose ±45°, ±30°, ±15°or 0°.
4. Push the shoe plate forwards so that the teeth on the plate mesh with the retaining teeth.
5. Re-tighten the hex screws.
For accurate work it is necessary to do a practice cut first. Check the cut and reset the angle until the correct cut is achieved.
The blade guide supports the blade when cutting and must always rest against the back of the blade.
Dust extraction
Fig.4
CAUTION:Attach a dust extraction device when using this product to saw wood in order to keep the working area clean! Wear a
dust mask when operating this product! Dust can be harmful to health! Especially dust and chips of wood that has been treated,
e.g. with wood preservative or a stain!
1. The dust extraction adaptor[4] may be inserted in the rear of the base plate to allow a dust extraction system or a suitable
vacuum cleaner to be connected to the tool in order to remove dust whilst the tool is in use.
2. Attach a proper dust extraction device, e.g. A suitable vacuum cleaner, to the dust extraction adaptor[4].
WARNING: Do not use a dust extraction system or a vacuum cleaner when cutting metal. Sparks may ignite residual wood
dust.
4.
USE
Switch on and off
Fig. 5
1. The tool is started by squeezing the on/off trigger switch. Release the trigger to stops the tool.
2. The tool is equipped with a lock-off button which can be pushed to left or right direction for your left or right hand operation
easily. If you press the lock-on button while the trigger switch is depressed, the switch is kept in the operating position.
3. To release the lock on button, press and release the trigger switch.
WARNING: Allow the blade to come to a complete standstill before setting the jig saw down.
4. The lock-on button allows the operator to keep the jigsaw motor running without continuously pressing the switch. It is useful
when operating the tool for extended periods.
Speed controller
Fig.6
Adjusting the speed to suit the application enhances cutting performance and saves the blade from undue wear. To determine
optimum cutting speed first perform test cuts on offcuts of the workpiece to be cut.
Rotate
the speed controller, located at the back of the jigsaw to set the blade speed. Position "MIN" denotes the lowest speed.
Position "MAX"
denotes the highest speed.
General cutting
Ensure that the blade is the correct type for the application and that the length extends through the workpiece on the upstroke
of the cut.
1. Determine how the jig saw is best configured for the job and make the required adjustment.
2. Switch on the jig saw and allow the blade to reach maximum speed.
Dexter Power
Original Instructions
15
EN
