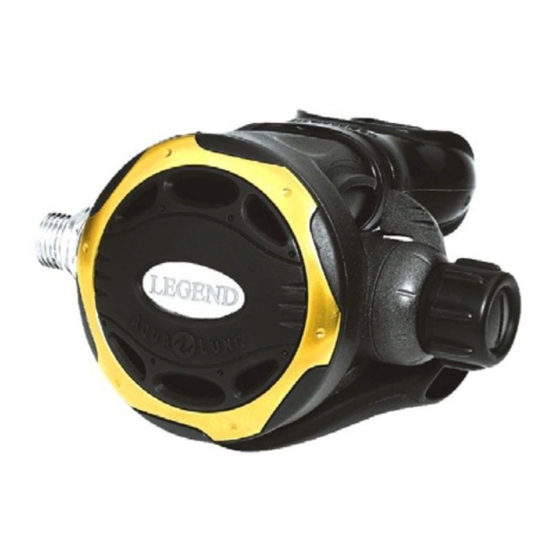
Aqua Lung Legend LX Second Stage Technisches Wartungshandbuch - Seite 9
Blättern Sie online oder laden Sie pdf Technisches Wartungshandbuch für Controller Aqua Lung Legend LX Second Stage herunter. Aqua Lung Legend LX Second Stage 18 Seiten.

15.
While holding the rim of the box bottom at eye level, turn
the adjustable crown orifice in (clockwise) until the lever
drops about 4mm below the case rim. Then, turn the
crown counterclockwise until the lever is even with the
case rim.
16.
Add a new o-ring (42) to the male end of the medium
pressure hose. Install a new, lubricated o-ring (38) to the
swivel end of the hose
17.
Adjust the lever height
F
NOTE: The inline adjustment tool can be use
with crowns with a screwdriver slot or a hex hole.
Make sure the inline tool is set to use the screw-
driver slot.
a.
Attach the Aqua
Lung in-line tool
(p/n 100190) to the
second stage. It can
accommodate both
the crown orifice
with the 5mm hex
and the crown orifice with the slot. The tool is
shown with the optional in-line medium pressure
gauge (p/n111605).
b.
Attach the swivel end of the medium pressure
hose to the other end of the inline tool. Attach the
male end of the hose to a properly adjusted first-
stage regulator (135±5). Attach the first-stage to
a fully charged cylinder. Slowly open the cylinder
valve to pressurize the regulator.
c.
Press inward on the adjustment wheel of the inline
tool. Slowly rotate the adjustment wheel until the
inline tool engages the crown orifice. Turn the
crown in until the lever drops approximately ¹₄".
This will "coin" the rubber seat to help achieve a
better seal. Now back the crown orifice out (coun-
terclockwise). The lever will raise. Continue until
the lever is even with the rim of the box bottom.
18.
Position the diaphragm (7) into the box bottom. Using
your finger or a small wooden dowel, work the edges
of the diaphragm into place. Place the thin, white thrust
washer (6) on top of the diaphragm. Make sure it is
seated evenly all the way around.
19.
Screw in the diaphragm
retainer (5), flat side fac-
ing the diaphragm, until
fingertight. Use the Titan
LX diaphragm retain-
ing tool (p/n 129001) to
tighten approximately
another ¹₄ turn. After
installing the diaphragm
retainer, grab the edges of the strike plate and gently tug
the diaphragm to the left, right, top and bottom to make
sure it is secure in the box bottom. If the diaphragm pulls
out, then you need to reinstall it.
20.
Position the rubber purge cover (4) onto the box bottom.
Make sure that the nameplate is oriented correctly. In-
stall the mating ring (2) onto the retaining ring (1). While
holding the purge cover stationary, screw the retaining
ring into the box bottom until snug.
9
