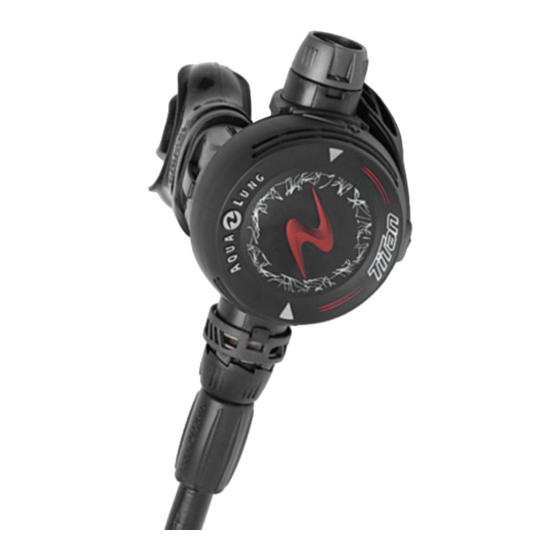
Aqua Lung Octopus Technisches Bulletin - Seite 2
Blättern Sie online oder laden Sie pdf Technisches Bulletin für Controller Aqua Lung Octopus herunter. Aqua Lung Octopus 4 Seiten. Second stage
Auch für Aqua Lung Octopus: Wartungshandbuch (20 seiten)

Aqua Lung America
CROWN REPLACEMENT PROCEDURE
1
Slide back and hold the hose locker (12), turn the swivel nut coun-
ter-clockwise to remove the MP hose (28) from the second stage.
CAUTION:
No tools are required to remove the MP hose from the
second stage. Use of tools or excessive force may cause damage
to the associated parts.
2
Remove the front cover (1) by first pulling the retaining loop
over the venturi knob (17). Lift the cover off the front of the sec-
ond stage and then rotate the cover out of the way. Remove the
diaphragm washer (2) and diaphragm (3).
3
To remove the venturi (4),
use your finger to push in
the release tab on the venturi
knob (17) while lifting up on the
venturi.
4
Pull the venturi knob (17)
from the case (5).
5
Locate the tab on the ring locker (14). With your finger, pull the
tab into the slot on the hose locker (12) while turning the crown
holder assembly (8-14) counter-clockwise by hand. Remove the
crown holder assembly from the case (5).
6
Carefully slide out the valve
insert
assembly
(18-24)
from the case (5). Take care not
to damage the lever.
7
Use a medium blade screw-
driver and carefully turn the
crown (10) counter-clockwise
approx. 6-7 turns to disengage
the crown.
CAUTION:
Use of the wrong size blade screwdriver can cause per-
manent damage to the crown which will require it to be replaced.
Confirm the screwdriver blade fits the crown securely.
8
Carefully insert the pin end of the seat extraction tool (pn
109437) through the crown holder (8) so that you can push the
crown (10) out.
9
Fit a new, lubricated o-ring
(11) onto the crown (10).
