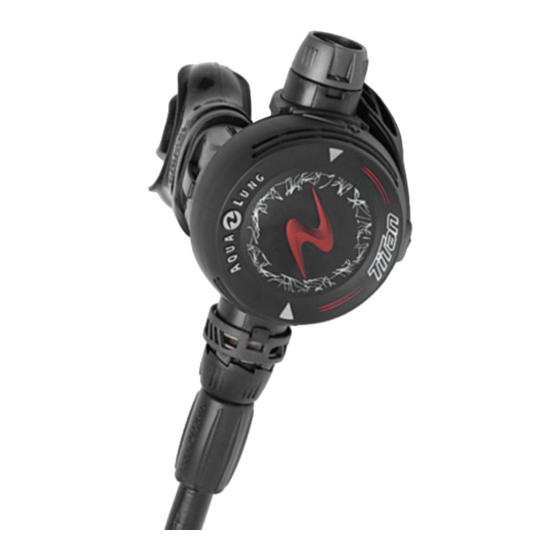
Aqua Lung Octopus Wartungshandbuch - Seite 7
Blättern Sie online oder laden Sie pdf Wartungshandbuch für Controller Aqua Lung Octopus herunter. Aqua Lung Octopus 20 Seiten. Second stage
Auch für Aqua Lung Octopus: Technisches Bulletin (4 seiten)

Calypso/Titan Second Stage Service Manual
20.
Place the handle of the extraction tool directly over the
poppet bearing (20) in the top center of the valve body (19),
and press downward until the poppet bearing has dropped
out. Discard the poppet bearing, and do not reuse.
NOTE:
Aqua Lung no longer requires mandatory replace-
ment of the exhaust valves. As long as the valves and their
associated seating surfaces are clean and in good condi-
tion, they may be left in place.
This Ends Disassembly
Before starting reassembly, perform parts
cleaning and lubrication according to the
procedures outlined in Procedure A, titled
Cleaning & Lubrication, on page 16.
Cleaning & Lubrication,
REASSEMBLY PROCEDURES
NOTE:
Before performing any reassembly, it is important
to inspect all parts, both new and those that are being re-
used, to ensure that every part and component is perfectly
clean and free of any dust, corrosion, or blemishes. Check
all o-rings to ensure they are clean and supple before
dressing with Christo-Lube
1.
If you removed the exhaust
valve (10) during disas-
sembly, install the exhaust
valve into the box bottom
(4) by feeding the stem of
the exhaust valve into the
center hole of the valve in
the box bottom. Gently pull
the stem through the hole
on the opposite side inside
the box bottom, until the barb has passed through and is
securely seated against the opposite side. If you are install-
ing a new valve, carefully snip off the excess material of the
stem with a small pair of scissors, leaving 5mm.
2.
Install the o-ring (12) on
the inlet fitting (13), secur-
ing it into the groove at the
base of the threads, just
above the hex feature.
3.
Install the o-ring (15) onto
the crown (14), and care-
fully insert the threaded
end of the crown into the
hose connection of the
inlet fitting (13). Gently
press it in further with the
blunt end of the extraction
tool (P/N 109437) until it
stops (see Fig. 2).
®
MCG-111.
Fig. 2 - Crown Installation
7
