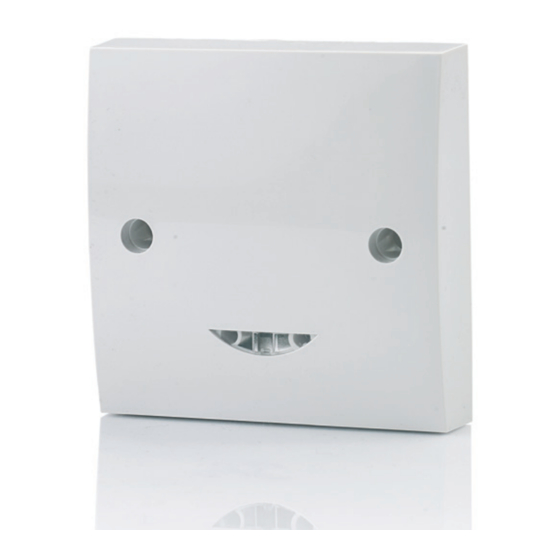
CP Electronics MWS1A-C-PRM-LV Installationshandbuch - Seite 7
Blättern Sie online oder laden Sie pdf Installationshandbuch für Sicherheitssensoren CP Electronics MWS1A-C-PRM-LV herunter. CP Electronics MWS1A-C-PRM-LV 16 Seiten.

Install detector | Melder installieren | Instalación del detector | Instalaçao do detector | Installer le détecteur |
Installazione del sensore | Installeer detector
4
Default Settings | Werkseinstellung | Parámetros por defecto | Configurações por omissão |
Paramètres par défaut | Impostazioni predefinite | Standaard instellingen
EN
Time out: 20 minutes.
LUX on level: 9
LUX off level: 9
Sensitivity: 9
Detection: Presence
Adjustments can be made using the
optional UHS5 or UNLCDHS handsets.
DE
Nachlaufzeit: 20 Minuten
LUX Einschaltschwelle: 9
Lux Ausschaltschwelle: 9
Empfindlichkeit: 9
Betriebsart: Automatikbetrieb
Einstellungsänderungen können mit den
Ferbedienungen UHS 5 oder UNLCD HS
vorgenommen werden.
ES
Tiempo retardo hasta apagado: 20
minutos
Nivel Lux Encendido: 9
Nivel Lux Apagado: 9
Sensibilidad: 9
Detección: Presencia
Los ajustes se pueden hacer usando los
mandos UHS5 y UNLCDHS
EN
Push wires into housing and tighten
screws to mount onto the wall. Cover with
screw caps.
Make sure to cover holes with caps
and seal with silicone sealant where
appropriate.
DE
Drücken Sie die Kabel in das
Gehäuse und ziehen Sie die Schrauben
fest an, um das Gehäuse an der Wand
anzubringen. Setzen Sie Schutzkappen auf
die Schrauben.
Achten Sie darauf, Löcher mit
Kappen abzudecken und ggf. mit
Silikondichtungsmasse abzudichten.
ES
Empuje los cables en la carcasa
y apriete los tornillos para montarlo en la
pared. Cubra con las tapas de los tornillos.
Asegúrese de cubrir los orificios con
las tapas y sellar con sellador de
silicona cuando sea apropiado.
PT
Empurrar os fios na carcaça e aperte
os parafusos para a montagem na parede.
Cobrir com as tampas de parafusos.
Certifique-se de tapar os orifícios
com tampas e selar com vedante de
silicone onde for adequado.
PT
Tempo limite: 20 minutos.
LUX on nível: 9
LUX off : 9
Sensibilidade: 9
Detecção: Presença
Os ajustes podem ser efectuados usando
os telecomandos opcionais UHS5 ou
UNLCDHS.
FR
Temporisation: 20 minutes
Seuil de luminosité pour
activation PIR: 9
Seuil de luminosité pour
désactivation PIR: 9
Sensibilité: 9
Détection: Présence
Toutes modifications peuvent être faites en
utilisant les outils de configuration UHS5 ou
UNLCDHS.
FR
Pousser les câbles dans le boîtier
et serrer les vis pour réaliser le montage
mural. Couvrir avec les caches.
Les trous doivent être recouverts
par les caches et étanchéisés avec
du silicone si nécessaire.
IT
Spingere i cavi nell' a lloggiamento
e serrare le viti per effettuare l'installazione
sulla parete. Coprire con i cappucci per le viti.
Assicurarsi di coprire i fori con i
cappucci e di sigillare con silicone
se necessario.
NL
Duw de draden in de behuizing en
draai de schroeven aan voor bevestiging
op de wand. Dek de schroeven af met
schroefdoppen.
Dek de openingen af met doppen
en dicht af met siliconenkit waar
nodig.
IT
Time out: 20 minuti.
Livello accensione LUX: 9
Livello spegnimento LUX: 9
Sensibilità : 9
Rilevamento : Presenza
Le regolazioni possono anche essere
effettuate utilizzando l'opzionale
telecomando UHS5 o UNLCDHS.
NL
Uitschakeltijd: 20 minuten
Lichtdrempel aan niveau: 9
Lichtdrempel uit niveau: 9
Gevoeligheid: 9
Detectie: aanwezigheid
Aanpassingen kunnen worden uitgevoerd
met de optionele UHS5- of UNLCDHS-
handset.
7
