AVS Bugflector II Installationsanleitung Handbuch - Seite 5

Blättern Sie online oder laden Sie pdf Installationsanleitung Handbuch für Zubehör für Kraftfahrzeuge AVS Bugflector II herunter. AVS Bugflector II 7 Seiten. Hood shield
Auch für AVS Bugflector II: Installationsanleitung Handbuch (7 seiten), Einbauanleitung (2 seiten), Installationsanleitung Handbuch (7 seiten), Installationsanleitung Handbuch (7 seiten), Installationsanleitung Handbuch (6 seiten), Installationsanleitung Handbuch (10 seiten), Installationsanleitung Handbuch (6 seiten), Installationsanleitung Handbuch (6 seiten), Installationsanleitung Handbuch (10 seiten), Installationsanleitung Handbuch (6 seiten), Installationsanleitung Handbuch (9 seiten), Installationsanleitung Handbuch (6 seiten), Installationsanleitung Handbuch (6 seiten), Installationsanleitung Handbuch (10 seiten), Installationsanleitung Handbuch (10 seiten), Installationsanleitung Handbuch (10 seiten), Installationsanleitung Handbuch (6 seiten), Installationsanleitung Handbuch (10 seiten), Installationsanleitung Handbuch (6 seiten), Installationsanleitung Handbuch (10 seiten), Installationsanleitung Handbuch (6 seiten), Installationsanleitung Handbuch (6 seiten), Installationsanleitung Handbuch (6 seiten)
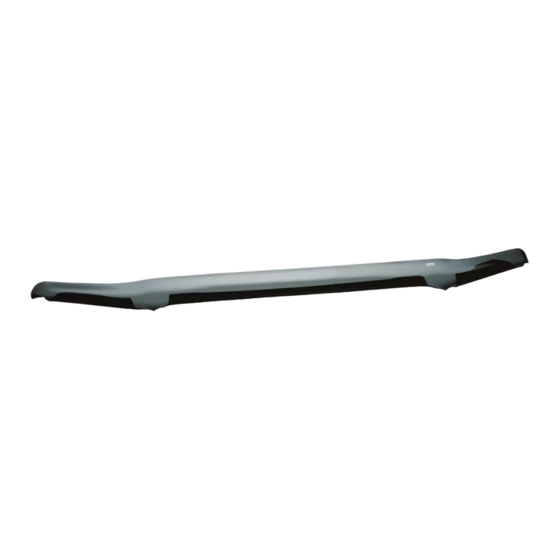
AVS Bugflector II Installationsanleitung Handbuch
Bugflector - Bugflector II - Carflector
Para una instalación adecuada y el mejor ajuste posible, lea todas las instrucciones ANTES de comenzar.
Si desea recibir asistencia técnica u obtener piezas faltantes, llame al Servicio al cliente al 1-800-241-7219.
Información importante de seguridad
• PRECAUCIÓN - Antes de conducir, asegúrese de que la visera deflectora esté correctamente anclada al vehículo.
• No utilice servicios automáticos de limpieza de vehículos que utilizan cepillos.
• No utilice limpiadores al solvente de ningún tipo.
• Compruebe periódicamente que todos los componentes estén ajustados.
Contenido
NOTA: El producto real puede variar de la ilustración.

Herramientas necesarias

Equipo de limpieza de vehículos
Preparación antes de pintar o instalar
• Se recomienda realizar un ajuste de prueba para asegurar el posicionamiento y ajuste correctos.
• Compruebe que las piezas se ajusten correctamente antes de pintarlas, ya que no aceptaremos la devolución de piezas modificadas
o pintadas.
• Lave los canales de la ventanilla del vehículo para quitar los desechos y la suciedad.
• Seque los canales de la ventanilla con una toalla limpia.
Pasos de instalación
Levante el capó.
1
Instrucciones de instalación
Cubierta para capó
NOTA: El uso real puede variar levemente de ilustraciones.
Sujetador x4
Toalla limpia
Ubique los 4 orificios en la parte inferior del capó que se alinean
con los orificios de la cubierta para capó y límpielos para retirar el
2
Página 1 de 2
Hoja informativa N.° BF18 Rev. A
Soporte x 4
Destornillador Phillips
polvo y los desechos.