AVS Carflector Installationsanleitung Handbuch - Seite 8
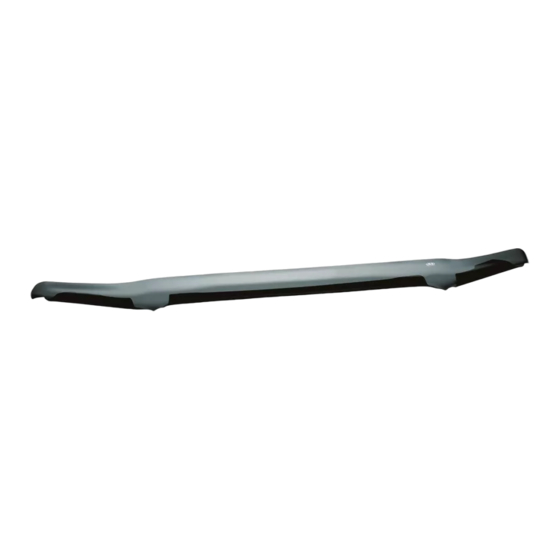
Blättern Sie online oder laden Sie pdf Installationsanleitung Handbuch für Zubehör für Kraftfahrzeuge AVS Carflector herunter. AVS Carflector 9 Seiten. Hood shield
Auch für AVS Carflector: Installationsanleitung Handbuch (7 seiten), Installationsanleitung Handbuch (7 seiten), Einbauanleitung (2 seiten), Installationsanleitung Handbuch (7 seiten), Installationsanleitung Handbuch (7 seiten), Installationsanleitung Handbuch (6 seiten), Installationsanleitung Handbuch (10 seiten), Installationsanleitung Handbuch (6 seiten), Installationsanleitung Handbuch (6 seiten), Installationsanleitung Handbuch (10 seiten), Installationsanleitung Handbuch (6 seiten), Installationsanleitung Handbuch (6 seiten), Installationsanleitung Handbuch (6 seiten), Installationsanleitung Handbuch (10 seiten), Installationsanleitung Handbuch (10 seiten), Installationsanleitung Handbuch (10 seiten), Installationsanleitung Handbuch (6 seiten), Installationsanleitung Handbuch (10 seiten), Installationsanleitung Handbuch (6 seiten), Installationsanleitung Handbuch (10 seiten), Installationsanleitung Handbuch (6 seiten), Installationsanleitung Handbuch (6 seiten), Installationsanleitung Handbuch (6 seiten)