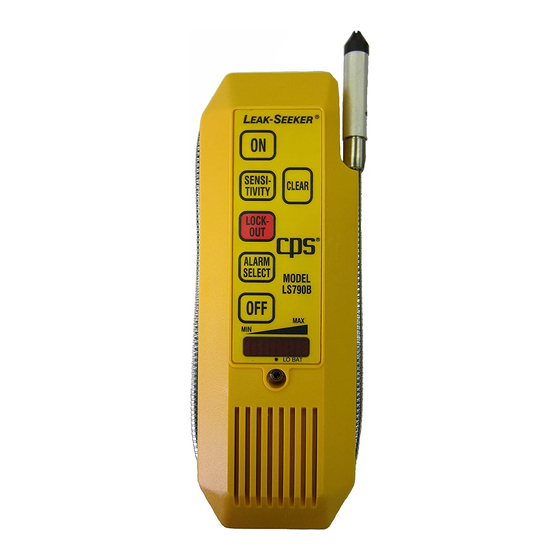
CPS LS790B Benutzerhandbuch - Seite 4
Blättern Sie online oder laden Sie pdf Benutzerhandbuch für Sicherheitssensoren CPS LS790B herunter. CPS LS790B 6 Seiten. Refrigerant leak detector

2. Take care not to contaminate the detector probe tip if the part
being tested is contaminated. If the part is particularly dirty or
condensate (moisture) is present, it should be wiped off with a
dry shop towel or blown off with shop air. No cleaners or sol-
vents should be used, since the detector may be sensitive to
their ingredients.
3. Visually trace the entire refrigerant system and look for signs of
air conditioning lubricant leakage, damage, and corrosion on all
lines, hoses, and components. Each questionable area should
be carefully checked with the detector probe, as well as all fit-
tings, hose to line couplings, refrigerant controls, service ports
with caps in place, brazed or welded areas, and areas around
attachment points and hold-down on lines and components.
4. Always follow the refrigerant system around in a continuous
path so that no areas of potential leaks are missed. If a leak is
found, always continue to test the remainder of the system.
5. At each area checked, the probe should be moved around the
location, at a rate no more than 25 to 50 mm/second (1-2
in/second), and no more than 5 mm (1/4 in) from the surface,
completely around the position. Slower and closer movement of
the probe greatly improves the likelihood of finding a leak.
6. An apparent leak shall be verified at least once by blowing shop
air into the area of the suspected leak, if necessary and repeat-
ing the check of the area. In cases of very large leaks, blowing
out the area with shop air often helps locate the exact position
of the leak.
7. Leak testing of the evaporator core while in the air conditioning
module shall be accomplished by turning the air conditioning
blower on high for a period of 15 seconds minimum, shutting it
off, then waiting for the refrigerant to accumulate in the case for
ten minutes. Next, insert the leak detector probe into the blow-
er resistor block or condensate drain hole if no water is present,
or into the closest opening in the heating/ventilation/air condi-
tioning case to the evaporator, such as the heater duct or a vent
duct. If the detector alarms, a leak apparently has been found.
8. Following any service to the refrigerant system, and any other
service which disturbs the refrigerant system, a leak test of the
repair and of the service ports of the refrigerant system should
be done.
• Windy Conditions: Do not attempt to find a leak in windy areas.
Even very large leaks may be impossible to find as the escap-
ing gas is quickly dissipated into the atmosphere. If necessary,
fabricate a gas trap using aluminum foil around joints or fittings
or otherwise shield the search area from the wind.
• Recommended Sensitivity Setting: MAC recommends begin-
ning the leak test at level five or six. The best range of sensitiv-
ity is one that allows the variable output alarm and or visual indi-
cators to operate within the given 10 LED segments without full
saturation of the alarm. NOTE: The sensitivity range you have
selected is too high when the highest audible tone is continual-
ly achieved or all ten visual LEDs are constantly lit. Select a
lower sensitivity setting and try again.
• Selective Filter Housing: The presence of moisture in a leak
test area will cause corona leak detectors to false alarm. When
searching for leaks around evaporators or other areas where
high moisture content is present, housing with the patented
Selective Filter Housing. This filter will eliminate false alarms
caused by the presence of moisture.
OPERATING TIPS
4
