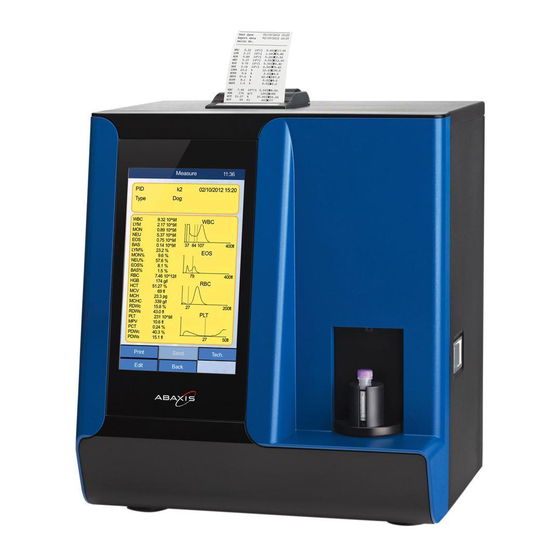
Abaxis VetScan HM5 Installationshandbuch
Blättern Sie online oder laden Sie pdf Installationshandbuch für Messgeräte Abaxis VetScan HM5 herunter. Abaxis VetScan HM5 1 Seiten. Hematology analyzer
Auch für Abaxis VetScan HM5: Kurzreferenz-Handbuch (17 seiten), Einbauanleitung (2 seiten), Kurzreferenz-Handbuch (19 seiten)

Vetscan HM5 Reagent Pack
Installation Guide & Package Insert
Technical Support Phone Number 1-800-822-2947
©January 2010, Abaxis Inc., Union City, CA 94587
INTENDED USE: the VetScan HM5 reagent pack is intended for
veterinary hematology use with the VetScan HM5 analyzer.
COMPONENTS INCLUDED:
Diluent (green cap)
Lyse (yellow cap)
Rinse (white cap)
Lyse2 (white/orange cap)
Cleaner (blue cap)
Thermal paper roll (one)
STORAGE:
Store reagent pack at room temperature (68-86° F). Do not use after
the expiration date listed on top of carton. Do not freeze reagents.
Do not use if reagents have been previously frozen. Reagents are
stable for 26 weeks after opening, if stored at optimum conditions.
Allow your reagent pack to equilibrate to room temperature for 24 hours
prior to use to prevent the formation of micro-bubbles that may affect
your results.
CHANGING THE REAGENT PACK
Before changing the reagent pack, be sure to read the instructions
carefully. You will need the following:
Distilled water (approximately 100-200 mls, or
about 1 cup) – do not use tap water
5 ml of household bleach
(approximately 5-6% hypochlorite)
HM5 cleaning tube
HM5 reagent pack
Two clean containers/cups to hold the water
and bleach
HM5 Normal control (Abaxis part no. 770-9029)
Doc. Number & Rev 770-7017 Rev B
1.
Prepare a 1:20 dilution of bleach.
a.
Mix 5 ml household bleach with 95 ml of
distilled water.
2.
Perform a bleach cleaning (
Maintenance
– Bleaching), see HM5 User's
Manual, section 7.3 for details.
3.
Reconnect the reagent tubing to the analyzer.
4.
Unscrew the reagent caps from the old reagent
pack. Connect them to the new reagent bottles.
NOTE: Take care not to touch the drop down
tubing (tubing that is inside the bottles) or the
reagents may become contaminated. Be sure
to match the correct caps to the color-matched
bottles.
5.
Press
New
for new reagent pack.
a.
The software will ask if you are changing the
reagent pack, or using an old one.
6.
Prime the reagent lines: follow the menus below:
a.
Utilities
key –
Maintenance
All
7.
Reset the Reagent Status: follow the menus
below:
a.
Utilities
key –
Maintenance
b.
Press
Change
and the settings will be reset to
100%. Press Accept.
8.
If you have moved the reagent pack's location
from the previous pack's location, you will need to
reset the reagent sensors. Follow the menu below:
a.
Utilities
–
Settings
Sensors
9.
Run a control sample.
a.
Be sure to follow the procedure in the HM5
User's manual when running a control. Re-
calibrate the instrument if the control results
do not match the expected values.
10.
Your instrument is ready to go!
Abaxis Part No. 770-9000
Utilities
menu
,
–
Priming
–
Prime
–
Reagent Status
–
Fluid Sensors
–
Calibrate
