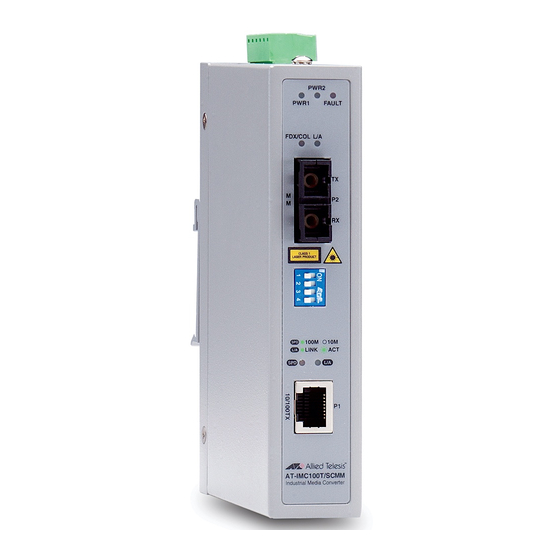
Allied Telesis AT-IMC100T/SCMM Installationshandbuch - Seite 19
Blättern Sie online oder laden Sie pdf Installationshandbuch für Medienkonverter Allied Telesis AT-IMC100T/SCMM herunter. Allied Telesis AT-IMC100T/SCMM 20 Seiten. Fast ethernet industrial media converter

Hardware Installation
6. Hardware Installation
6.1 Selecting a Location
Here are the guidelines for choosing a location for the media converter:
The Fast Ethernet Industrial Media Converter may be installed on a wall or on DINRAIL.
•
The DINRAIL bracket must be ordered separately from the AT-PC2002/POE+ media converter
Note:
Caution: The Fast Ethernet Industrial Media Converter must be powered only by a UL Listed power supply marked either
"LPS" (or Class 2) rated 56Vdc, 1A.
Caution: The Fast Ethernet Industrial Media Converter must NOT be operated from Centralized DC battery.
The site should provide easy access to the ports on the front of the chassis so that you can easily connect and disconnect
•
the network cables, as well as view the unit's LEDs.
Air flow around the unit and through the side vents should not be unrestricted.
•
Do not place objects on top of the chassis.
•
Do not expose the device to moisture or water.
•
Make sure that the site is in a dust-free environment.
•
Use dedicated power circuits or power conditioners to supply reliable electrical power to the network devices
•
Keep the media converter chassis and the twisted pair cable away from sources of electrical noise, such as radios, electric
•
motors, transmitters, broadband amplifiers, power lines, and fluorescent fixtures.
6.2 Installation Steps
6.2.1 Unpack the unit packing.
6.2.2 Check the DIN-rail clip is screwed on the unit. If the DIN-rail clip is not screwed on the unit, please refer to the
Rail Mounting
section for DIN-rail installation. If you want to wall-mount the unit, then please refer to the
Fixing
section.
6.2.3 To hang the unit on the DIN-rail track or wall, please refer to the
6.2.4 Connect Ground Wire to the Ground screw located near the Power Socket.
6.2.5 Power on the Unit and the power LED indicator on the unit will light up. Please refer to the
section on how to wire the power. Please refer to the
6.2.6 Prepare the twisted-pair, straight through Category 5 cable for Ethernet connection.
6.2.7 Insert one side of Category 5 cables into the Ethernet port (RJ-45 port). The UTP port (RJ-45) LED on the unit will
light up when the cable is connected and network is active. Please refer to the
6.2.8 Insert the fiber cable SC connector into the fiber port.
6.2.9 When all connections are all set and LED lights all show in normal, the installation is complete.
AT-IMC100T/SCSM and AT-IMC100T/SCMM Fast Ethernet Industrial Media Converters
Mounting Installation
LED Indicators
section for meaning of LED lights.
LED Indicators
Selecting a Location
DIN-
Wall-Mount Plate
section.
Wiring the Power Inputs
section for LED light meaning.
19
