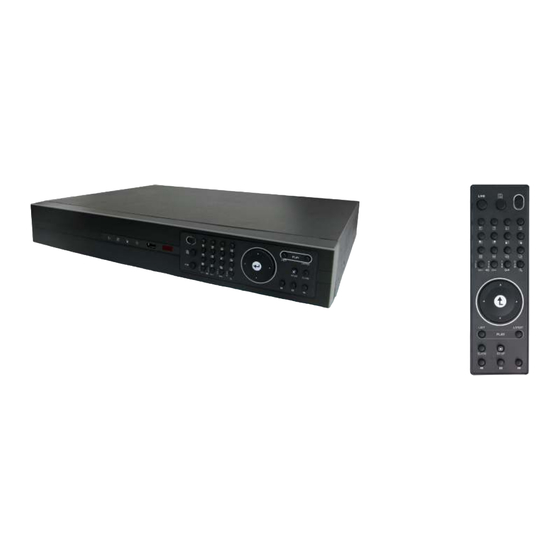
Avtech KPD616 Kurzanleitung - Seite 6
Blättern Sie online oder laden Sie pdf Kurzanleitung für DVR Avtech KPD616 herunter. Avtech KPD616 10 Seiten. Mpeg-4 dvr quick
Auch für Avtech KPD616: Kurzanleitung (15 seiten)

3. CONNECTIONS AND SETUP
3.1 Install HDD
Step 1:
Loose the screws on the upper cover and open the upper cover of the DVR.
Step 2:
Screw out the L-shape HDD brackets. Two brackets are used to secure a HDD, and there are 4 of them.
Step 3:
Get a suitable brand HDD and set the HDD mode (Master or Slave).
Note: HDD mode setting rule:
Master if you want to install the HDD to the place near the back panel;
Slave if you want to install the HDD to the place near the front panel.
Step 4:
Attach the bracket to one side of the HDD, and align the screw holes of the bracket with the HDD's screw holes.
Screw the HDD onto the HDD bracket, two screws for each side. Then, do the same thing to the other side of
the HDD.
Step 5:
Screw the two HDD brackets back to the DVR base.
Step 6:
Connect the HDD to the power connector and IDE BUS (make sure to align the HDD precisely for pin
connection).
For IDE BUS connection:
Connect to the blue IDE BUS connector If the HDD mode is set to Master;
Connection to the gray IDE BUS connector if the HDD mode is set to Slave.
Step 7:
Close the upper cover of the DVR, and fasten all the screws you loosened in Step 1.
3.2 Camera Connection
The cameras must be connected and power-supplied before the DVR is turned on. Connect the camera with the
indicated power supply. And then connect the camera video output to the DVR video input port with a coaxial cable or
RCA lines with BNC connectors (The DVR will automatically detect the video system of the camera).
Note: For detailed DVR video input / output ports, please refer to section "2.3 Rear Panels" at page 4.
For detailed camera operation, please refer to its own manual.
Note: If you want to make a video backup with audio, please connect audio cameras to the channels
which support the audio function (CH13, CH14, CH15 and CH16).
3.3 DVR Power Setup
This device should be operated only with the type of power source indicated on the manufacturer's label. Connect
the indicated AC power cord to the power adaptor, and plug into an electrical outlet. Power LED "
blue. It takes approximately 10 to 15 seconds to boot the system.
-1-
" will be on as
