EnStar ENMD Series Benutzerhandbuch - Seite 17
Blättern Sie online oder laden Sie pdf Benutzerhandbuch für Klimagerät EnStar ENMD Series herunter. EnStar ENMD Series 20 Seiten.
- 1. Table of Contents
- 2. Sociable Remark
- 3. Safety Precautions
- 4. Safety Rules
- 5. Air Conditioner Features
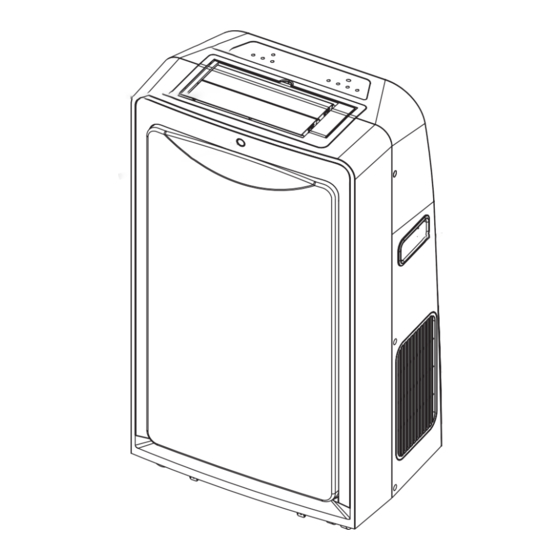
- 6. Names of Parts
- 7. Accessories
- 8. Electronic Control Operating Instructions
- 9. Operatiing Instructions
- 10. Operating Instructions
- 11. Installation Instructions
- 12. Care and Maintenance
- 13. Troubleshooting Tips
- 14. Troubleshooting
INSTALLATION INSTRUCTIONS
A) TEMPORARY-
1. Attach one end of the duct to the exhaust air outlet of the
mobile air condition, push it downwards, be sure to fix
thoroughly. (See Fig.7)
2. Attach the other end of the duct to adaptor B.
3. Put the end of duct to a nearby window.
B) PERMANENT-
1. Attach one end of the duct to the exhaust air outlet of the
mobile air conditioner. According to the arrow direction,
push it downwards, be sure to fix thoroughly. (See Fig.7)
2. Install the adaptor A onto the wall by using 4 expansion
plugs and screws, be sure to fix thoroughly. (See Fig.8)
3. Attach the other end of the duct to adaptor A.
4. Cover the hole using the adaptor cap when not in use.
The duct can be compressed or extended moderately
according to the installation requirement, but it is
desirable to keep the duct length to a minimum.
IMPORTANT:
DO NOT OVER BEND THE DUCT (SEE Fig.9)
4. WATER DRAINAGE SAFETY FEATURE
During the operation, when the digital display area
shows P1 and the unit stop operation, it need to drain
the water away. There are two ways provided to drain the water:
Option A
:
1. Carefully release the drain hose from the rubber clip, remove the
rubber plug at the end of the hose, and slant it down to a water
container(see Fig.10).
2. Press the TURBO/PUMP button on the unit control panel for
more than 2 seconds, and the NO WATER FILLING
indicator light begins flashing. It indicates the Forced
water drainage feature is activated.
3. Wait until the NO WATER FILLING indicator light stops
flashing and there is no water flowed out from the drain
hose any more. Now the water drainage has finished.
4. After drain away the water, remember to fasten the drain
hose with the rubber clip and attach the rubber plug at the
open end of the hose. Failure to comply with the procedure will result in flooding.
5. The unit will continue operating properly.
Option B:
1. Turn off the unit and unplug it. Move it to the rest room or any place which can drain the water
directly over the floor.
2. Carefully release the drain hose and slant it down, then remove the bottom rubber plug from the
back hole(see Fig.14 on page 17).
3. Wait the water drain away and fasten the drain hose with the rubber clip, install the bottom rubber
plug, move the unit to the room again.
IMPORTANT: In order to prevent the chassis assembly being eroded by the collected water in
the bottom tray, we strongly recommend you to perform the OPTION B drain procedure every
week to drain the water away.
INSTALLATION INSTRUCTIONS
Expansion plug
position
Adapter A
max 120CM
min 30CM
Fig.8
Fig.9
Fig.10
16