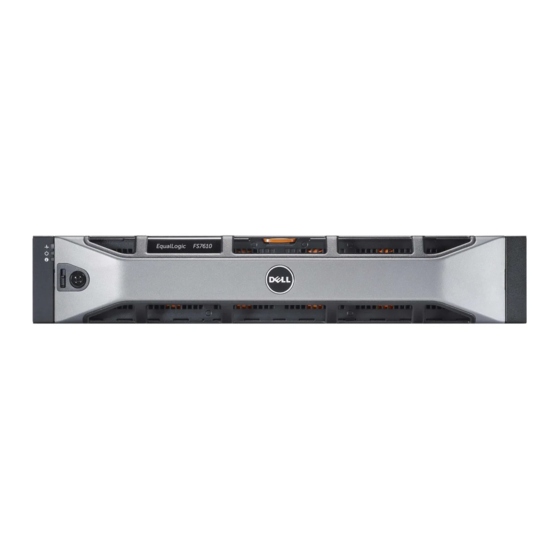
Dell EqualLogic FS7610 Handbuch für Installation und Einrichtung - Seite 17
Blättern Sie online oder laden Sie pdf Handbuch für Installation und Einrichtung für Lagerung Dell EqualLogic FS7610 herunter. Dell EqualLogic FS7610 46 Seiten. Appliances
Auch für Dell EqualLogic FS7610: Übersicht (7 seiten), Hardware-Benutzerhandbuch (32 seiten)

Dell EqualLogic FS7610 Installation and Setup Guide
•
Make sure the rack meets the requirements in
show a square-hole rack, but the installation instructions also apply to round-hole racks.
•
Install hardware starting from the bottom of the rack.
Steps for Installing an Appliance in a Rack
You need at least two persons to install the appliance in a rack.
1. Obtain the rail kit. See
2. Position the left and right rails in the orientation in which you will install the rails. See
Controller Rails on page
3. Attach the rails to the rack. See
4. Slide the appliance into the rack.
5. Secure the appliance to the rack. See
6. Attach the bezel to the appliance. See
These steps are described in detail in the following sections.
Attaching the Rails to the Rack
See
Figure 5
and follow these steps for attaching each controller rail. For general rack mounting information, see
Guidelines for Installing Mounting Rails in a Rack on page
1. Verify where to place the rails in the rack.
2. Align the rails as follows:
–
Make sure the left and right rails are oriented correctly. The rails are stamped L FRONT and R
FRONT, respectively. Make sure they are not upside down.
–
The front and rear upper mounting hook aligns with the top hole in any 1U section of the rack.
–
The front lower mounting hook aligns with the bottom hole in any 1U section of the rack.
–
The rear lower mounting hole aligns with the top hole in the next lower 1U section of the rack.
3. Attach the front hooks of the rails to the inside front of the rack.
4. Slide the end of the rail out until it meets the inside rear of the rack. Secure the rear hook to the inside rear
of the rack.
5. Optionally, secure the rear rail mount with a #10-32 screw (not included).
6. Check both ends of the rails to make sure they are fully seated in the same rack hole positions and that the
rails are level.
Rack Requirements on page
Shipping Box Contents on page
1.
Attaching the Rails to the Rack on page
Securing the Appliance to the Rack on page
Attaching the Bezel on page
7. The graphics in this manual
6.
11.
12.
10.
2 Hardware Rack Mounting
Positioning the
12.
11
