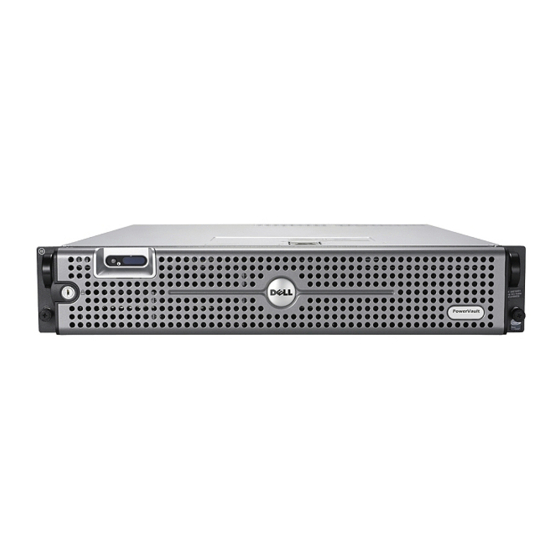
CONFIGURING WINDOWS FIREWALL TO WORK WITH DELL POWERVAULT NAS SYSTEMS
How do I configure Windows® Firewall to work with my Dell
One of the most significant features of Windows Server
Firewall. With a carefully planned configuration and a few simple steps you can easily configure the Firewall to
work with your Dell PowerVault NAS system. For example, if Windows® Firewall is enabled, it may be blocking
incoming network traffic on Transmission Control Protocol (TCP) port 445. To connect to a NAS system
remotely, that remote system must allow incoming network traffic on TCP port 445. This document will tell you
how to configure Windows® Firewall for the most commonly used ports on Dell PowerVault NAS systems.
NOTE: Open firewall ports can be a security vulnerability. You should carefully plan and test any such
configuration change before it is implemented.
•
To continue using the NAS Manager with Windows Firewall enabled the Administrator, when configuring
the firewall, must
add TCP Port 1279 to the Exceptions list to access the WebUI Admin site
o
add TCP Port 80 to the Exceptions list to access the WebUI Shares site
o
add TCP Port 1311 to the Exceptions list to access the Dell Open Manage Server Administrator
o
site
•
To continue using the File Transport Protocol (FTP) protocol with the Windows Firewall enabled
add TCP Port 21 to the list of exceptions.
o
•
To continue using NetBIOS Name Resolution with the Windows Firewall enabled
add UDP Port 137 to the list of exceptions.
o
•
The following ports must be open for Services for Unix (SFU) to work correctly with the Windows®
Firewall enabled:
PortMapper: TCP, UDP 111
o
Status: TCP, UDP 1039
o
Nlockmgr: TCP, UDP 1047
o
Mountd: TCP, UDP 1048
o
NFS Server: TCP, UDP 2049
o
•
To continue using the Windows Time Service with the Windows Firewall enabled
add UDP Port 123 to the list of exceptions.
o
NOTE: When the PowerVault NAS system is joined to a domain from the default NASGroup group all Firewall
settings will be reset. You will need to re-enable Remote Desktop, re-enter all exceptions, and enable port 445
under File and Printer Sharing.
Enabling and disabling ports on the firewall using the Command Line
Using the current example we will use the command line to open port 445. Click Start, point to Programs, point
to Accessories, and click Command Prompt. At the command prompt, type netsh firewall set portopening
TCP 445 ENABLE then press ENTER.
Enabling and disabling ports on the firewall using the Windows Firewall Configuration Tool
Using the current example we will use the Windows Firewall configuration tool to open port 445. Click Start,
select Control Panel, and double click Windows Firewall. You will be prompted to start the Windows
Firewall/Internet Connection Sharing (ICS) service. If you plan on enabling the firewall this service must be
started.
PAGE 2
TM
TM
PowerVault
®
2003 Service Pack 1 is the improved Windows
VER A00
NAS system?
5/062005

