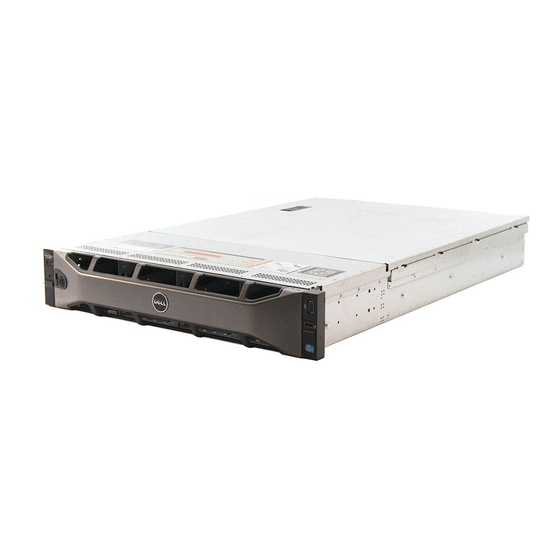
Dell PowerVault NX3200 Handbuch für Administratoren - Seite 47
Blättern Sie online oder laden Sie pdf Handbuch für Administratoren für Lagerung Dell PowerVault NX3200 herunter. Dell PowerVault NX3200 50 Seiten. Network-attached storage
Auch für Dell PowerVault NX3200: Handbuch zur Fehlersuche (17 seiten), Einrichten (2 seiten), Handbuch "Erste Schritte (9 seiten), Spezifikationen (2 seiten)

Enabling SIS on a Volume
1 On the Volumes tab in Share and Storage Management, click the volume
for which you want to enable SIS.
2 In the Actions pane, click Properties.
3 On the Advanced tab, select the Enable SIS on this volume check box and
click OK.
Disabling SIS on a Volume
1 On the Volumes tab in Share and Storage Management, click the Volume
for which you want to disable SIS.
2 In the Actions pane, click Properties.
3 On the Advanced tab, clear the Enable SIS on this volume check box, and
then click OK.
Enabling Shadow Copies of Shared Folders
If you enable Shadow Copies of Shared Folders on a volume using the default
values, tasks are scheduled to create shadow copies at 7:00 A.M. and noon.
The default storage area is on the same volume, and its size is 10 percent of
the available space.
You can only enable Shadow Copies of Shared Folders on a per-volume basis;
you cannot select specific shared folders and files on a volume to be copied or
not copied.
NOTE:
Creating shadow copies is not a replacement for creating regular backups.
Enabling and Configuring Shadow Copies of Shared Folders
CAUTION:
There is a limit of 64 shadow copies per volume. When this limit is
reached or when storage area limits are reached, the oldest shadow copy is
deleted. When deleted, the shadow copy cannot be retrieved.
1 Open Server Manager Disk Management.
2 Right-click the volume and select the Properties tab. Click the Shadow
Copies tab.
3 Click the volume where you want to enable Shadow Copies of Shared
Folders and then click Enable.
4 To change the storage location, space allocation, and schedule, click
Settings.
Using Your NAS System
47
