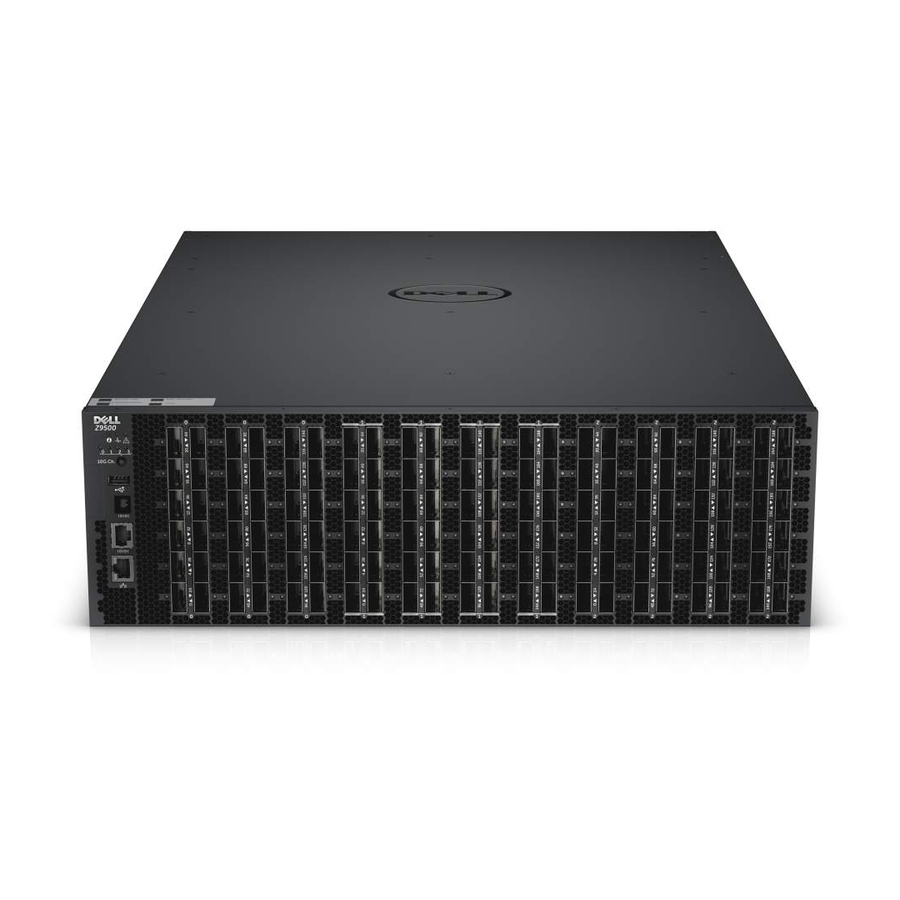
Dell Networking Z9500 Installationshandbuch - Seite 20
Blättern Sie online oder laden Sie pdf Installationshandbuch für Schalter Dell Networking Z9500 herunter. Dell Networking Z9500 47 Seiten. Z9500 switch
Auch für Dell Networking Z9500: Handbuch "Erste Schritte (34 seiten)

Attaching the Mounting Brackets
The switch is shipped with static rails mounting brackets (rack ears) and the required screws for rack or
cabinet installation. The brackets are enclosed in a package with the chassis.
Attaching the Static-Rails Mounting Brackets
1.
Take the static-rail mounting brackets and screws out of their packaging.
2.
Attach the brackets to the I/O side of the chassis, using eight screws for each bracket.
Attach the bracket so that the "ear" faces to the I/O side and the outside of the chassis.
1.
Utility side of the chassis
3.
Static-rail mounting bracket
Installing the Dell Static Rails System
Dell Networking provides the Static Rails rack mounting system so you can easily configure a rack to
install the switch.
Identifying the Rail Kit Contents
Locate the components for installing the rail kit assembly:
•
Two Dell Static Rails assemblies (1) (2).
NOTE: Supports rack length between 24 and 36 inches.
20
2.
Screws
Z9500 Installation
