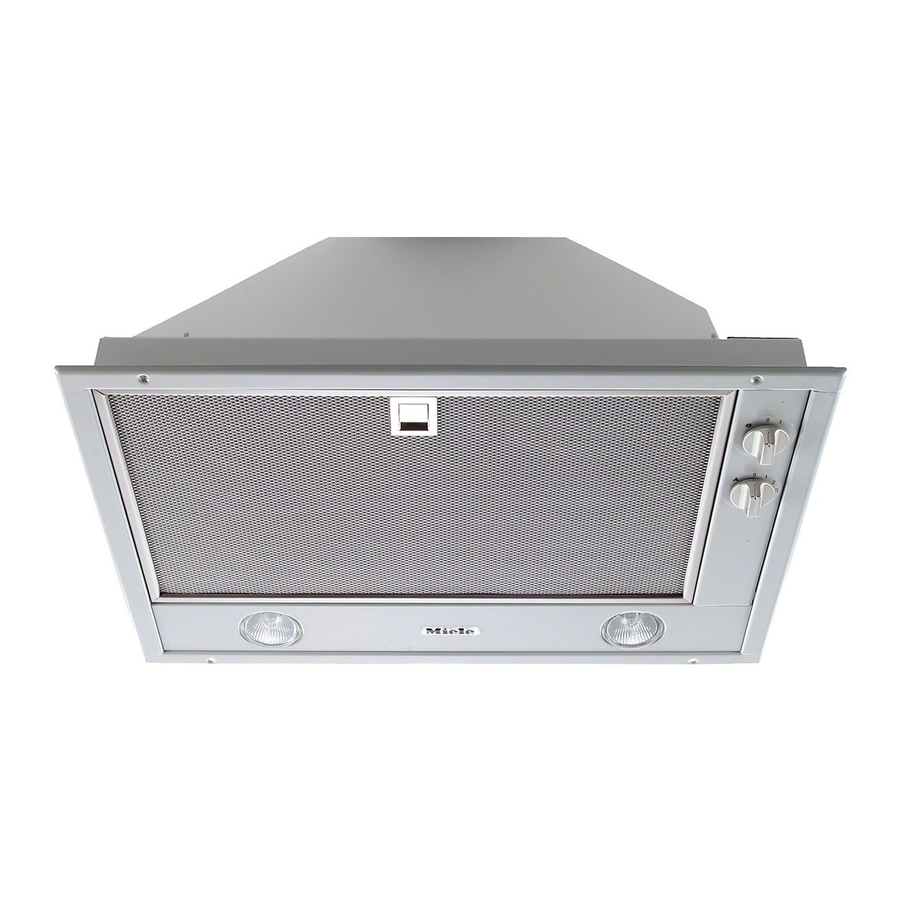
Miele DA 2050 Betriebs- und Installationsanleitung - Seite 12
Blättern Sie online oder laden Sie pdf Betriebs- und Installationsanleitung für Lüftungshaube Miele DA 2050 herunter. Miele DA 2050 28 Seiten. Cooker
Auch für Miele DA 2050: Betriebs- und Installationshandbuch (28 seiten)

Cleaning and care
Before any cleaning or maintenance
work is carried out, disconnect the
rangehood from the mains supply.
Ensure that:
– it is switched off at the isolator,
or
– it is switched off at the wall
socket and the plug
removed, or
withdrawn, or
– the screw-out fuse is removed
(in countries where this is
applicable).
A range of Miele branded cleaning and
conditioning agents are available to
order through your Miele Chartered
Agent from Miele or via the internet on
www.miele-shop.com.
Housing
The surfaces and controls are
susceptible to scratches and
abrasions. Please observe the
following cleaning instructions.
^ All external surfaces and controls can
be cleaned using the Original Miele
all purpose microfibre cloth, or with
warm water and a small amount of
washing-up liquid applied with a well
wrung-out soft sponge or cloth.
^ Wipe the surfaces dry using a soft
cloth.
Do not use:
– cleaning agents containing soda,
acids, chlorides or solvents,
12
– the mains fuse is
– abrasive cleaning agents, e.g.
powder cleaners or cream cleaners
and abrasive sponges, as well as pot
scourers or sponges which have
been used previously with abrasive
cleaning agents.
These will damage the surface
material.
Grease filter
The re-usable metal grease filter in the
appliance removes solid particles from
the kitchen vapours (grease, dust, etc.)
preventing soiling of the rangehood.
Clean the grease filter when it looks
dirty, and avoid letting it become so
dirty that the filtering effect is inefficient.
To avoid a build-up of fat, it should be
cleaned every 3-4 weeks on average,
but sooner if necessary.
,
An oversaturated filter is a fire
hazard.
^ To take out the grease filter, release
the locking clip on the filter, lower the
filter 45°, unhook it at the back and
remove it.
