Miele DA 3190 Betriebs- und Installationsanleitung - Seite 28

Blättern Sie online oder laden Sie pdf Betriebs- und Installationsanleitung für Lüftungshaube Miele DA 3190 herunter. Miele DA 3190 40 Seiten. Ventilation system
Auch für Miele DA 3190: Betriebs- und Installationsanleitung (36 seiten), Betriebs- und Installationsanleitung (40 seiten), Abmessungen (1 seiten), Betriebs- und Installationsanleitung (40 seiten), Betriebs- und Installationsanleitung (40 seiten), Betriebs- und Installationsanleitung (40 seiten)
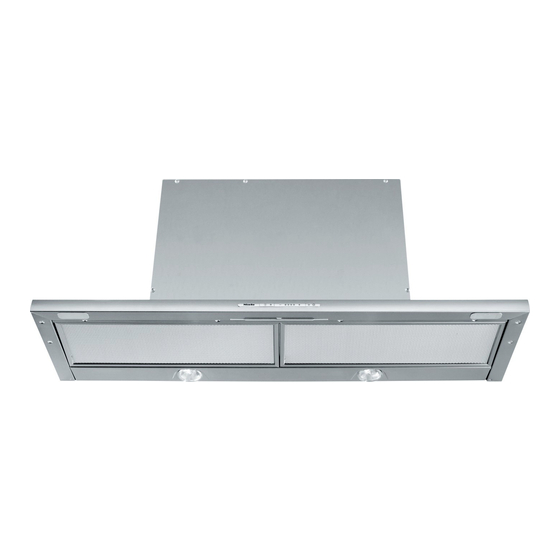
Miele DA 3190 Betriebs- und Installationsanleitung
Installation
^ Secure the front of the appliance to
the floor of the housing unit from
below using 4 screws (6 screws for
90 cm wide cooker hood).
To avoid damaging the deflector plate
when it is pulled out, care should be
taken to screw the fixing screws in
straight, and to ensure that the
screwheads are countersunk.
^ Secure the spacer strip to the back of
the appliance from behind using
4 plastic rivets as shown.
28
^ Attach the lightshield (if using).
A DML 300 installation kit, available as
an optional accessory, is required for
this. This installation kit is supplied with
a DFB lightshield. Follow the installation
instructions supplied. The lightshield
must not exceed 1300 g in weight.
^ The position of the deflector plate
can be brought forward by up to 50
mm using the adjusting screws on
either side of the deflector plate.
Align the deflector plate to the front of
the kitchen furniture units on either
side.