HP 24 Handbuch für Wartung und Service - Seite 10
Blättern Sie online oder laden Sie pdf Handbuch für Wartung und Service für Desktop HP 24 herunter. HP 24 25 Seiten.
Auch für HP 24: Demontageanleitung Handbuch (6 seiten), Anweisungen zur Demontage des Produkts nach Ablauf der Lebensdauer (4 seiten), Schnelles Einrichten (2 seiten), Anweisungen zur Demontage des Produkts nach Ablauf der Lebensdauer (6 seiten)
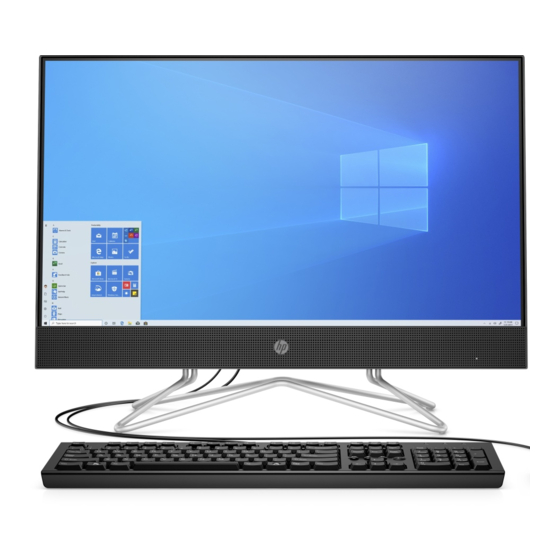
Table 1-3: Rear components and their descriptions
Component
1
Security cable slot
2
USB 3.1 Gen1 ports (4)
3
Stand release latch
4
Power connector
5
USB-Type-B upstream port
6
DisplayPort connector
7
Master power switch
8
Back button
9
Plus button
10
Minus button
11
Menu/OK button
12
USB Type-C cable
Locating the serial number and product number
The serial number and product number are located on a barcode label on the bottom edge of the display head.
You may need these numbers when contacting HP about the display model.
6
Function
Connects an optional security cable.
Connect USB devices.
Releases the stand.
Connects an AC adapter.
Connects the USB hub cable to a source
device such as a computer
Connects a DisplayPort cable to a source
device such as a computer.
Turns off all power to the display.
If the OSD menu is open, press to exit or
return to previous menu level.
If the OSD menu is closed, press to open the
Brightness menu.
If the OSD menu is open, press to navigate
forward through the OSD menu and increase
adjustment levels.
If the OSD menu is closed, press to open the
Color menu.
If the OSD menu is open, press to navigate
backward through the OSD menu and
decrease adjustment levels.
If the OSD menu is closed, press to open the
Next Active Input menu.
Press to open the OSD menu, or select a
menu item from the OSD.
Connects an HP Desktop Mini inserted into
the display rear compartment.