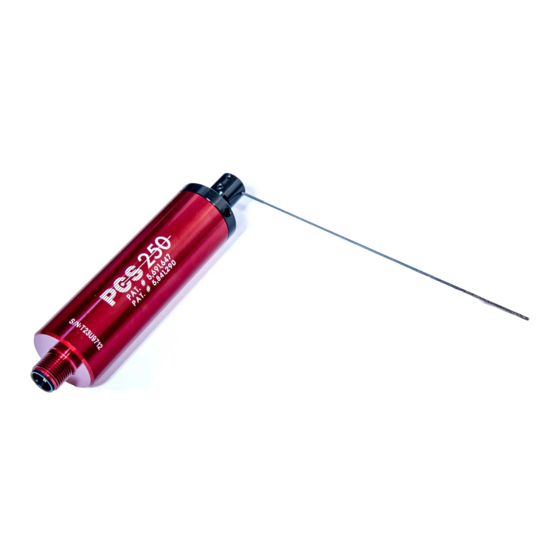
Allora Positive Contact PCS-250 Installationsanleitung Handbuch - Seite 3
Blättern Sie online oder laden Sie pdf Installationsanleitung Handbuch für Zubehör Allora Positive Contact PCS-250 herunter. Allora Positive Contact PCS-250 12 Seiten.

1)
Before you start
The PCS-250 Sensor is a self teaching device. It has the
capability of swinging Clockwise (CW) or counterclockwise
(CCW) up to 300º. The CW or CCW selection is made on the TCU
via a dip switch. If you are looking at the sensor with the sensing
needle cap facing you , a CW selection will mean that the sensing
needle will swing clockwise as shown in FIG 1.
3)
Fabricating a mounting bracket
Once you have determined the placement
you will need to fabricate a mounting bracket
that will hold the sensor into place.
Everything else you will need is provided.
The split ring clamps the sensor body to the
bracket and holds the sensor securely. The
most common bracket configuration is
shown in FIG 3, but is by no means your only
option.
Mounting Bracket
Nut for mounting
screw (provided)
2)
Where and how to mount the sensor
There are several options when mounting the
sensor. The space available in the tooling area
will determine the easiest mounting method
and location. With all machine power off, hand
hold the sensor in the tooling area to imagine
its best placement. Remember the sensor can
swing CW or CCW. Although most applications
involve straight sensing needles, keep in mind
that the needle can be bent into many different
FIG 2.
configurations, as shown in FIG 2.
Mounting screw (provided)
FIG 3
28.50 mm
4.00 mm dia.
Clamping collar (provided)
Page 2
CW Swing
direction
FIG 1.
17.00mm
