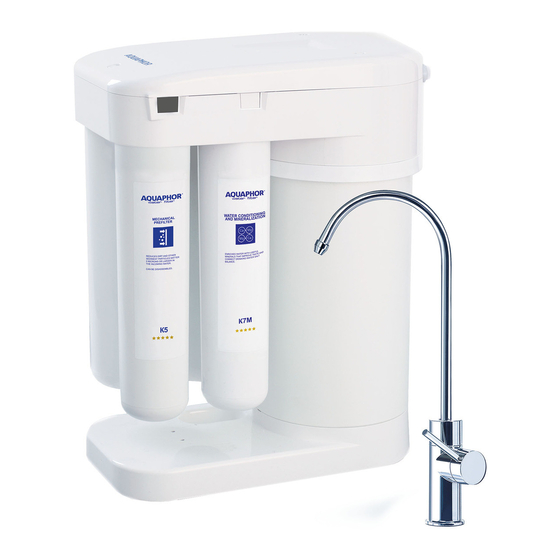
AQUAPHOR DWM-101 Installationshandbuch - Seite 6
Blättern Sie online oder laden Sie pdf Installationshandbuch für Water Filtration Systems AQUAPHOR DWM-101 herunter. AQUAPHOR DWM-101 16 Seiten. Drinking water machine

Installation Tool List
The following are the tools you may need for installation.
Recommended Tool List
1/4-inch High-speed drill bit
7/16-inch High-speed drill bit
1/2-inch High-speed drill bit
1-1/4-inch Chassis punch (stainless steel sinks)
1-inch to 1-1/4-inch Carbide drill bit or hole saw
7/16-inch Open-end wrench
1/2-inch Open-end wrench
9/16-inch Open-end wrench
5/8-inch Open-end wrench
Tank Flange Key (available to dealer)
Medium-sized (#2) Phillips screwdriver
Typical Flow Diagram
Drinking Water Machine
Figure 3: Drinking Water Machine Flow Diagram
10
Optional Tool List
Pressure gauge adapted to 1/4-inch tube
Water test kit
Conductivity or TDS meter
High-speed Dremel tool (porcelain sinks)
Silicon/carbide grinding wheel (porcelain sinks)
Tubing cutter or sharp knife
10/9/2013
Drinking Water Machine
Installation Guide
Installation Steps and Start-Up Procedures
Warning: Installation of this appliance must conform with state and local plumbing codes, laws,
regulations, and the instructions provided with this appliance. Failure to install as instructed will void
the product warranty.
Step 1
Study the Installation Diagram
Study the overall installation diagram (See Figure 1) before proceeding, to familiarize yourself with the general
layout of the appliance.
Step 2
Check Fit
Ensure that the complete appliance will fit in the installation location before proceeding. Check all factory
fittings* and tubing connections. Be sure all locking clips are in place. See steps A through F below for tube
connection instructions.
A.
Cut the tube square . It is essential that the outside diameter be free of score marks and that burrs and
sharp edges be removed before inserting into fitting.
B.
Insert tube. The fitting grips before it seals.
C.
Push the tube into the fitting to the tube stop. The collet (gripper) has stainless-steel teeth that hold the tube
firmly in position while the O-Ring provides a permanent leak-proof seal.
D.
Insert the locking clip. The locking clip secures the collet in its position to prevent an accidental disconnection
of the tube.
E.
Pull on the tube to check that it is secure. Test the appliance before leaving the site or before use.
F.
To disconnect, ensure that the appliance is depressurized. Remove the locking clip. Push in the collet
squarely against face of the fitting. With the collet held in this position, the tube can be removed.
*The Drinking Water Machine has been pressure tested. However, due to shipping vibrations, AQUAPHOR
rechecking all factory fittings upon installation.
Drinking Water Machine
Installation Guide
recommends
®
10/9/2013
11
