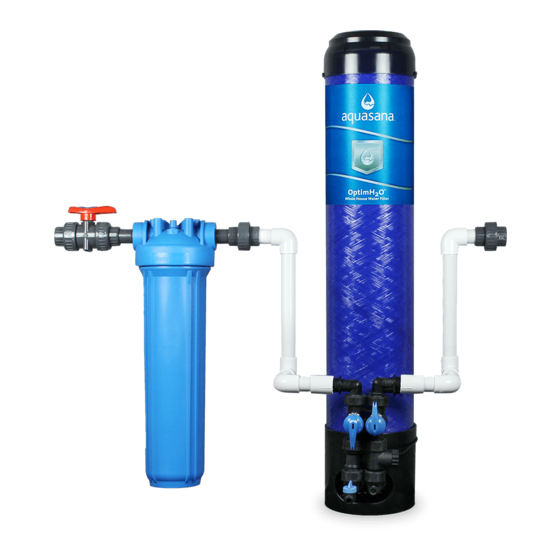
Aquasana OptimH2O AQ-RO-3 Benutzerhandbuch - Seite 6
Blättern Sie online oder laden Sie pdf Benutzerhandbuch für Water Filtration Systems Aquasana OptimH2O AQ-RO-3 herunter. Aquasana OptimH2O AQ-RO-3 10 Seiten. Whole house water filter
Auch für Aquasana OptimH2O AQ-RO-3: Benutzerhandbuch (14 seiten), Benutzerhandbuch (11 seiten), Benutzerhandbuch (16 seiten)

8
INSTALLATION STEPS
9
Reattach Top Cap
1. Reposition the top cap into
its original location.
Final System Check
10
1. Once installation is complete, allow proper time for glue to dry
according to manufacturer instructions.
2. Push down on the red
depressurization button on the top
cap to relieve the system of air.
Keep the button pushed down as
you slowly turn the water back on.
DO NOT release the button until
all air pressure is fully released
and water comes out of the red
depressurization button.
3. Release the red button and inspect the system for leaks. After
inspecting for leaks, allow water to run through the system for 10
minutes for the final flushing period.
2. Reattach top tank snap ring. Pull up
on the top cap to seat the O-rings.
Water Meter
The totalizer keeps track of the gallons
using a water meter. The water meter
is a turbine style meter with a magnetic
pickup that sends a pulse to the
electronics for every revolution of the
meter turbine. The meter turbine is
removable for inspection and cleaning.
Make sure water is bypassed or
turned off when removing the meter
for maintenance. The meter has a
three pin plug that connects to the
electronic board.
Power Monitoring & Battery Mode
The board monitors the 12V dc power
and the battery power. If there is a
power failure and no batteries are
installed, the current totalizer value
will be saved to non-volatile memory.
When power is resumed, the totalizer
count will resume from when it had
previously lost power.
The LEDs should shut off during
battery mode. If the totalizer is to the
yellow or red state or if the battery
voltage gets low, the LEDs will flash
on in the appropriate colors for
0.125 seconds every 4 seconds. If the
pushbutton is pressed in battery mode,
the LEDs will turn on for 4 seconds and
then return to battery mode.
Pushbutton
The pushbutton allows for the totalizer
to be reset.
To reset the totalizer, the user should
press and hold the button for 3
seconds. When the totalizer is reset
LEDs should flash green 3 times to
confirm it is reset.
OPERATION
LEDs
Normal colors for the LEDs are Green,
Yellow, and Red. Depending on the
Totalizer value.
• Green
= 0–90% of the totalizer max
• Yellow
= 90–100% of the totalizer max
• Red
>= 100% of the totalizer max
If there is flow, the LEDs should
alternately turn off in the following
pattern: 1-2-3-2 (repeat). The
frequency that they turn off is linearly
correspondent to the flow rate being
received from the water meter. For
every 1 revolution from the meter, the
LED pattern should be incriminated to
turn off the next LED. If there are no
pulse edges for 2 seconds, all the LEDs
will turn on solid.
If the battery is low, the middle LED (#2)
will turn White. The battery is checked
only once an hour to minimize the
battery drain from checking the voltage.
Power
This unit is to be powered using +12V
DC. The power input is a wire tail with
a 2.5mm, center positive barrel jack.
The totalizer has a battery backup.
The battery backup uses 3 AAA size
batteries. The battery holder is a
part of the PCB assembly and can be
accessed by removing the lid to the
filter. Battery life will vary based on
water flow when running on battery
mode and type of batteries used. With
high continuous flow, the batteries are
expected to last approximately 14 days.
With no flow, the batteries are expected
to last approximately 6 months.
9
