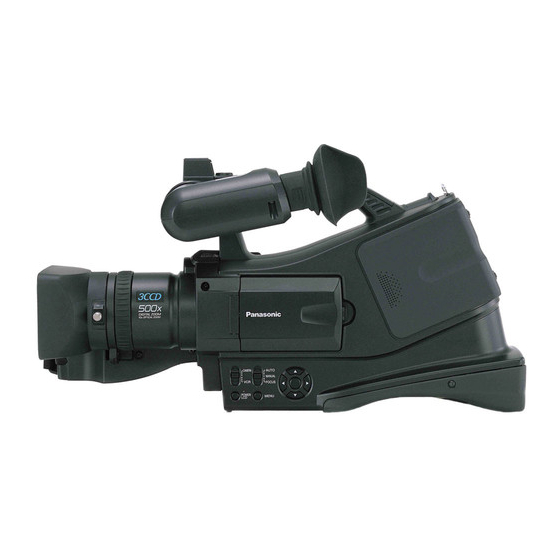
Panasonic AGDVC20P - 3 CCD DV CAMCORDER Betriebsanleitung - Seite 20
Blättern Sie online oder laden Sie pdf Betriebsanleitung für Camcorder Panasonic AGDVC20P - 3 CCD DV CAMCORDER herunter. Panasonic AGDVC20P - 3 CCD DV CAMCORDER 40 Seiten. Agmini-dv camera/recorder
Auch für Panasonic AGDVC20P - 3 CCD DV CAMCORDER: Betriebsanleitung (42 seiten), Betriebsanleitung (42 seiten)

DVC20_Eng.book 20 ページ 2005年10月31日 月曜日 午前10時36分
Recording yourself
You can record yourself while viewing the LCD monitor. You
can record persons in front of the camera while presenting
them the image. The image is horizontally flipped as if you see
a mirror image. (The image to be recorded is the same as that
recording.)
1
Rotate the LCD monitor towards the lens side.
≥When the LCD monitor is opened, the viewfinder will be
automatically turned off. If the LCD monitor is rotated towards
the lens side though, then the viewfinder will be activated.
≥When the LCD monitor is rotated towards the lens side, the
icon will not be displayed even if you press the [ENTER]
button.
Backlight compensation function
This protects a backlit subject from being darkened.
≥Set to Tape Recording Mode.
1
Press the [ENTER] button until the icon 1 appears.
2
Press the [1] button to select the backlight
compensation icon [
].
≥The image on the screen will become brighter.
ª
To return to normal recording
Select the [
] icon again.
≥If you operate the [OFF/ON] switch or the mode switch, the
backlight compensation is cancelled.
20
Record mode
1
ª
Night view functions
This function allows you to record color subjects in dark
locations to stand out against the background.
Attach the camera-recorder to a tripod, and you can record
images free from vibration.
≥Only manual focusing can be used.
≥Recorded scene is seen as if frames were missed.
Color night view function
You can record dark locations brightly in color.
0 Lux night view function
You can record completely dark locations with the light of the
LCD monitor.
≥Set to Tape Recording Mode.
1
Press the [ENTER] button until the icon 1 appears.
2
Press the [3] button to select the night view icon [
≥Each upward press switches the modes.
OFF # Color night view function # 0 Lux night view
function # OFF
3
(In the case of 0 lux night view function)
Rotate the LCD monitor towards the lens side.
≥When the LCD monitor is reversed, the Power LCD lamp
turns on and the screen is lit in white.
≥Record the subject while viewing it on the viewfinder.
≥The light of the LCD monitor reaches approx. 1.2 m (3.9
feet) or less.
ª
To cancel the color night view function
Select the night view icon until the night view indication
disappear.
≥If set in a bright place, the screen may become whitish for a
while.
≥The night view function makes the signal charging time of
CCD up to approximately 30k longer than usual, so that dark
scenes invisible to the naked eye can be recorded brightly.
For this reason, bright dots that are usually invisible may be
seen, but this is not a malfunction.
≥The night view function is cancelled when you operate the
power switch or the mode switch.
].
1
