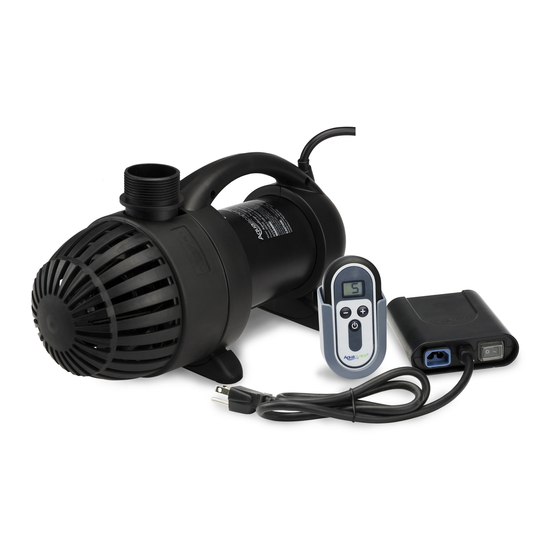
AquaScape 45009 Anleitung und Wartung - Seite 5
Blättern Sie online oder laden Sie pdf Anleitung und Wartung für Water Pump AquaScape 45009 herunter. AquaScape 45009 20 Seiten. Adjustable flow pond pump
Auch für AquaScape 45009: Anleitung und Wartung (20 seiten)

Typical Installation in a Skimmer
or Pondless
Waterfall Filter System
®
• Do not submerge AquaSurge
Adjustable Flow Pond Pump
directly into the pond. The
AquaSurge
Adjustable Flow
®
Pond Pump is designed to
be placed inside a skimmer,
Pondless
vault, sump or basin.
®
Please consider the Aquascape
AquaForce
Solids-Handling
®
Pond Pump if your application
does not have a fi lter and requires a pump that can be placed
directly into the pond.
• The AquaSurge
Adjustable Flow Pond Pump is designed to
®
be installed horizontally on the vibration and noise reducing
rubber feet. The pump can also be mounted vertically, if
needed, by attaching the Filter Stand Ring on the Outer Filter
Screen, included with your pump.
• The AquaSurge
includes a wide assortment of fi ttings to
®
choose from. Select the appropriate fi tting or fi ttings needed
for your application.
PLEASE NOTE: If using a check valve, please follow the
installation instructions included with the check valve for proper
plumbing steps
• The threaded collar on all of the fi ttings enables
the AquaSurge
pump to be installed and
®
removed without the need for any tools.
(Do not use tools to install the fi ttings into
the pump discharge. Fittings need to be
only hand-tight).
aquascapeinc.com |
CAN (866) 766-3426 |
®
AquaForce
®
Pond Pump
OR
Multi-hose Adapter
US (866) 877-6637
• The extremely versatile Rotational Ball Outlet provides you
the ability to adjust the pump discharge to the perfect
position your water feature set up requires. Loosen the
threaded collar on the rotational ball and rotate to desired
position. A fl at rubber gasket is included to ensure a
hand-tight and leak-free connection. Make sure this fl at
rubber washer is in place before installing the fi ttings.
• Install the right sized Multi-hose Adapter based on the
diameter of the tubing you are using.
• If using a pipe diameter larger than the smallest section
of the multi-hose adapter, trim off the smaller sections to
avoid fl ow restriction.
Hosetail ready for 1" tubing
Hosetail ready for 1½" tubing
CUT
HERE
Hosetail ready for 1¼" tubing
CUT
HERE
STAINLESS STEEL
HOSE CLAMP
Kink-Free
Tubing
Installation of stainless steel hose clamp
5
