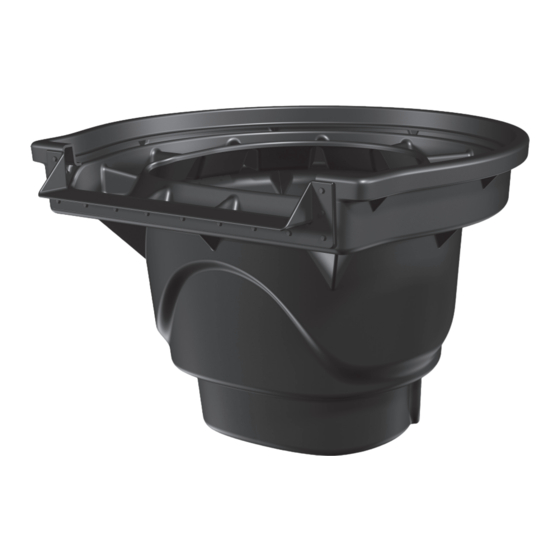
AquaScape SIGNATURE Series Unterweisung und Wartung - Seite 7
Blättern Sie online oder laden Sie pdf Unterweisung und Wartung für Water Filtration Systems AquaScape SIGNATURE Series herunter. AquaScape SIGNATURE Series 20 Seiten. Pond skimmer
Auch für AquaScape SIGNATURE Series: Anleitung und Wartung (20 seiten), Anleitung und Wartung (11 seiten)

STEP 6
COMPLETE THE SKIMMER INSTALLATION
• Insert the filter mat support rack into place at the bottom
of the skimmer.
• Place the pump at the
bottom of the skimmer
(Ex. 18). Follow pump
instructions and refer to
(Ex. 20).
• Once inside the skimmer,
feed the electrical cord over
the depression located on
the back, top edge of the
skimmer (Ex. 19).
• The Aquascape Check
Valve 2.0 (#48026)
(included with Aquascape
pond kits or sold
separately) comes with two
adaptors used on each end
of the check valve. One
adaptor threads directly
into the pump and the
other threads directly into
the bulkhead on the back
of the skimmer (Ex. 20).
Connect the check valve to
both the bulkhead and the
pump at this time (Ex. 21).
• The overflow, threaded into
the second bulkhead, will
help maintain the maximum
water level in the pond after
rainfall, ensuring that your
skimmer works properly
and water does not travel
over the edges of the liner
(Ex. 22). Also refer back
to page 6 for overflow
information.
• Place the included filter mat
into the skimmer box with
the pre-cut hole oriented in
alignment with the desired
plumbing route (Ex. 23).
Ex. 22
☎
aquascapeinc.com |
CAN (866) 766-3426 |
• Attach the debris basket
handle to the debris basket
by pushing the tabs into the
basket (Ex. 24). Then place
the basket into the filter
with the opening on the
basket facing toward the
weir opening of the
skimmer.
STEP 7
FILL POND AND SET THE ADJUSTABLE EXTERIOR
Ex. 18
LINER PLATE
• The patented adjustable wier door opening allows the final
water level of the pond to be adjusted. Please note that
this feature is for making final adjustments and tweaks
to the water level. It is important the skimmer was set to
the proper water level during initial skimmer installation. If
adjustment of the weir does not allow for the desired water
level, you may need to reset the placement of the entire
skimmer box.
Ex. 19
• Make sure the pond is filled to the desired level prior to
making final adjustments.
• Adjust the weir opening
to the appropriate water
level by loosening the
thumbscrews and
adjusting up or down as
needed (Ex. 25). There
Ex. 20
should be approximately
3/4" gap between the
water level and the top of
the exterior liner plate opening to allow proper skimming
action (Ex. 5).
• Dial-in the adjustable
overflow elbow so that
water rising past the
desired level will begin to
trickle down the overflow
arm (Ex. 26). Once the
overflow is set, the pond
owner should not readjust.
Readjustment may require
re-application of silicone or Teflon tape to the threads in
Ex. 21
order to provide a watertight fitting.
Ex. 23
☎
US (866) 877-6637
Ex. 24
Ex. 25
Ex. 26
7
