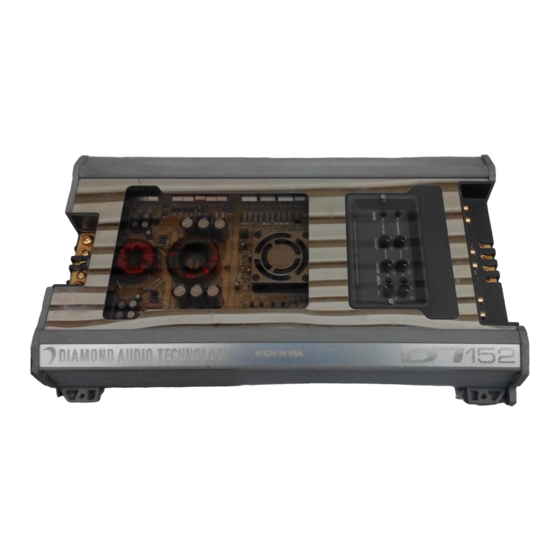
Diamond Audio D7 Referenzhandbuch - Seite 8
Blättern Sie online oder laden Sie pdf Referenzhandbuch für Verstärken Diamond Audio D7 herunter. Diamond Audio D7 11 Seiten. Professional reference series amplifier

SYSTEM DIAGRAM 2
Four Channel System with
Subwoofer and Biamplified Front Stage
D7 two channel amplifier
Source: Front RCA outputs
?
Channels 1/2 Highpass to tweeters
?
AUX. OUTPUTS to 2nd D7 amplifier
?
D7 two channel amplifier
Input: AUX. OUTPUT (full range)
?
from D7 tweeter amplifier
Channels 1/2 Bandpass to a pair of midbass drivers
?
D7 two channel amplifier
Source: Rear RCA outputs
?
Channels 1/2 Highpass to a pair of
?
rear fill coaxial components
D7 two channel amplifier
Source: Subwoofer RCA outputs
?
Channels 1/2 Lowpass to a pair of
?
bridged 8 Ohm subwoofers
18
INSTALLATION
TOOLS NEEDED FOR INSTALLATION
1/16" Allen Key (Included): Crossover Security Cover Top Screws
?
3/16" Allen Key: Up to 1/0 AWG Power Rings, Power / Ground
?
5/32" Allen Key: Up to 4 AWG Direct Input, Power / Ground
?
1/8" Allen Key: Up to 8 AWG Speaker and Remote Terminal
?
(Also Accepts Banana Jacks)
7/64" Allen Key: Amplifier Mounting Flanges
?
A WORD ABOUT PROFESSIONAL INSTALLATION...
We, the folks at Diamond Audio, highly advise the use of a factory authorized
installation technician. System performance ultimately depends on proper
installation. Your D7 Series amplifier is an awesome component that deserves
to be professionally installed. If this last-chance plea for dealer assistance
doesn't sway you, the following instructions will make the installation of your
new amplifier a little easier.
Before starting your installation, remove the negative battery cable before
working on the positive terminal to prevent a short to ground. If a short does
occur, current will continue to flow until the short is opened, the main fuse
blows, or the wire melts (possibly taking out any nearby flammable object,
wire loom, etc. causing a fire or possibly even a tear in the fabric of time and
space). Reconnect the negative terminal after all connections have been made.
MOUNTING YOUR AMPLIFIER
WARNING — AMPLIFIERS GENERATE HEAT!
You can mount your amplifier in any position, even upside down.
However, airflow must be maintained. Do not install your amplifier
under carpets or behind airtight panels. Let the amplifier breathe.
Without air circulation, your amplifier will reduce its power
output to protect itself.
D7 Professional Reference Amplifiers utilize a forced-air cooling system.
Care must be taken to provide a sufficient flow of air around the amplifier
for the thermal management system to operate at peak efficiency. Air is drawn
into the system along the sides of the amplifier, over the circuit board, through
the bottom heat sink and is exhausted through the vents on the end panels.
Be sure to allow at least 2 inches of space around the amplifier. Never mount
your amplifier where it can get wet. Water damage is not covered by the
3
