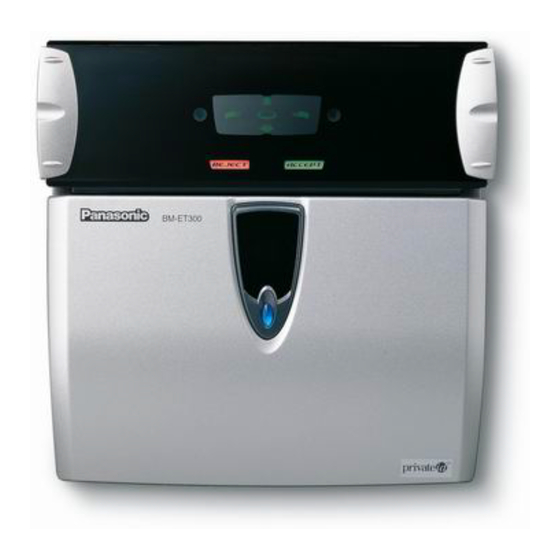
Panasonic BM-ET300 Setup-Handbuch - Seite 11
Blättern Sie online oder laden Sie pdf Setup-Handbuch für Digitalkamera Panasonic BM-ET300 herunter. Panasonic BM-ET300 16 Seiten. Iris camera

SETUP PROCEDURE
■ Installation of the Setup
Software and Setup Procedure
You will connect the iris camera and setup PC with the
setup cable supplied to the administration software, and
carry out the setup using the setup software installed from
the CD-ROM into the setup PC.
● Platform
To install the setup software, the PC should meet the follow-
ing requirements.
IBM PC or 100 % compatible / Pentium
/ 128 MB RAM / 2 MB hard drive space
In addition, the setup PC must be equipped with a CD-
ROM drive and a D-sub 9 pin serial port.
• Operating system requirement
®
®
Microsoft
Windows
2000 Professional or
®
®
Microsoft
Windows
XP Professional
• Video display setting requirement
800 x 600 resolution
● Installation/Uninstallation
• Installation
Insert the supplied CD-ROM into the CD-ROM drive on the
setup PC. Double-click "Setup.exe" in the "Initial-ET300"
folder. Then, follow the directions given and respond to the
dialog boxes.
You will be asked to enter the product key during the instal-
lation. The product key is written on the CD-ROM case. The
product key is common between the administration soft-
ware and the setup software.
• Uninstallation
When the setup software becomes unnecessary, open
"Add/Remove Programs" in "Control Panel" and select "BM-
ET300 SetupSoftware". The setup software will be unin-
stalled from the setup PC.
®
300 MHz or higher
● Initial Setup Procedure
Installation and connections are completed.
Note: The power should be turned off.
1
The front cover is detached from the iris camera.
Setup switches are configured.
2
Switch 1 is set to OFF. (The "setup" mode is
activated.)
Switch 3 is set to ON. (The "tamper detection" mode is
canceled.)
The iris camera and setup PC are connected with the
3
exclusive setup cable supplied with the administration
software.
The power is supplied to the unit.
4
The setup software is booted and the setup of iris
5
camera is carried out.
The power supply to the iris camera is shut down. Then,
6
the setup cable is removed from the camera and setup PC.
Setup switches are configured.
7
Switch 1 is set to ON. (The "normal operation" mode is
activated.)
Switch 3 is set to OFF. (The "tamper detection" mode
is activated.)
8
The front cover is attached to the iris camera.
11
