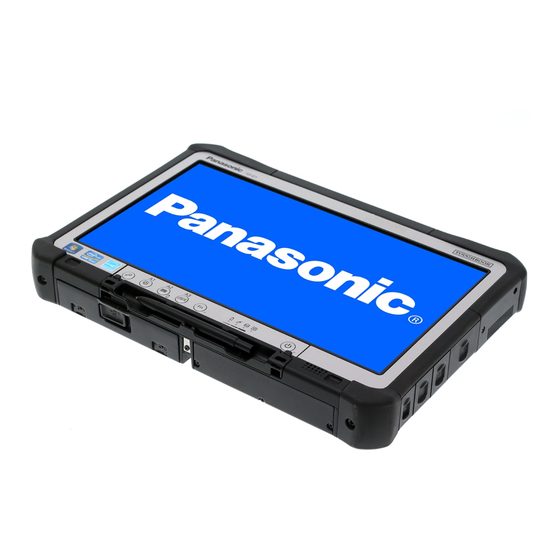
Panasonic CF-H2 series Betriebsanleitung - Seite 27
Blättern Sie online oder laden Sie pdf Betriebsanleitung für Digitalkamera Panasonic CF-H2 series herunter. Panasonic CF-H2 series 40 Seiten. Personal computer
Auch für Panasonic CF-H2 series: Betriebsanleitung (36 seiten), Gebrauchsanweisung (36 seiten), Betriebsanleitung (36 seiten), Betriebsanleitung (32 seiten), Ergänzende Anweisungen Handbuch (17 seiten)

■
Using Recovery Disc
Use the Recovery Disc in the following conditions.
•
You have forgotten the administrator password.
•
Installation is not complete. The recovery partition in the hard disk may be broken.
•
<Only for Windows 7 downgrade model> To change OS from Windows 7 to Windows 8, or vice versa.
NOTE
●
To change OS from 32 bit to 64 bit, or vice versa, install OS using the recovery partition in the hard disk.
Preparation
●
Prepare the following items:
•
Recovery Disc(s) (è
Operation using DVD is explained below.
•
DVD drive (optional) (refer to recent catalogs and other sources for information about the products available)
•
Cradle (optional: CF-VEBH21U, CF-VEBH21KU)
•
External keyboard
•
Mouse
●
Remove all peripherals except the ones described above.
●
Connect the AC adaptor and do not remove it until installation is complete.
1
Turn off the computer and set the computer to the Cradle.
2
Connect the DVD drive and an external keyboard and mouse to the USB port.
3
Start the Setup Utility.
A Display "Charm" and click
B Click [Restart now] under "Advanced startup".
C Click [Troubleshoot] - [Advanced options] - [UEFI Firmware Settings] - [Restart].
Turn on the computer, and press F2 or Del while [Panasonic] boot screen is displayed.
●
If the [Panasonic] boot screen is not displayed, turn on the computer while holding down F2 or Del.
●
If the password is requested, enter the Supervisor Password.
4
Write down all of the contents of the Setup Utility and press
At the confirmation message, select [Yes] and press
5
Check the [UEFI Boot] setting of the Setup Utility.
[UEFI Boot] should be set to as follows.
When the recovery disc for Windows 8 is used: [Enabled]
When the recovery disc for Windows 7 is used: [Disabled]
6
Set the Recovery Disc into the DVD drive.
7
Press
F10
.
At the confirmation message, select [Yes] and press
The computer will restart.
8
Press
or
F2
Del
The Setup Utility starts up.
●
If the password is requested, enter the Supervisor Password.
9
Select the [Exit] menu, then select your DVD drive in [Boot Override].
10 Press
(Enter).
The computer will restart.
11 Click [Reinstall Windows] and click [Next].
12
At the confirmation message, click [YES].
13 At the License Agreement screen, click [Yes, I agree to the provisions above and wish
to continue!] and click [Next].
14 When the recovery disc for Windows 8 is used, click [Next].
When the recovery disc for Windows 7 is used, select the setting and click [Next].
●
[Reinstall Windows to the whole Hard Disk to factory default.]
Select this option when you want to install Windows to the factory default. After installation, you can create a
new partition. For how to create a new partition, refer to "To change the partition structure" (è page 19).
●
[Reinstall to the System and OS partitions.]
Select this option when the hard disk has already been divided into several partitions. For how to create a new
partition, refer to "To change the partition structure" (è page 19).
You can keep the partition structure.
This does not appear if Windows cannot be installed to the recovery partition and the area usable by Windows.
*2
Reference Manual "Recovery Disc Creation Utility")
- [Change PC settings] - [General].
while [Panasonic] boot screen is displayed.
*2
.
F9
(Enter).
(Enter).
27
