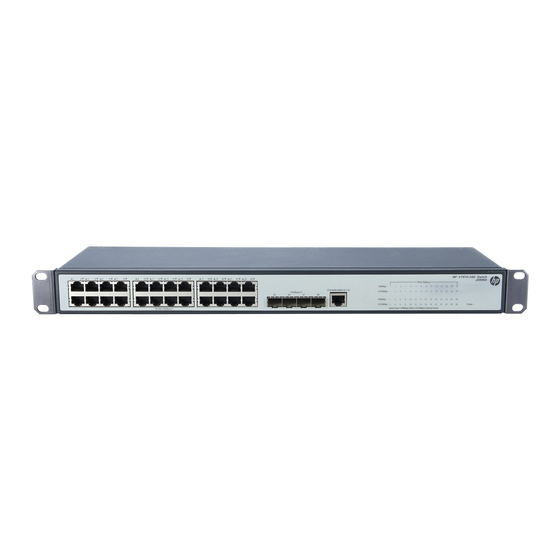
HP V1910 Handbuch "Erste Schritte - Seite 25
Blättern Sie online oder laden Sie pdf Handbuch "Erste Schritte für Schalter HP V1910 herunter. HP V1910 44 Seiten.

Figure 18 Install a mounting bracket on the chassis (E)
Mounting the switch to a rack
Wear an ESD-preventive wrist strap and make sure the rack is well grounded and is firm enough to
Step1
support the switch and cables.
Locate the positions for installing cage nuts on the rack post, and use a marker to mark the positions.
Step2
Install cage nuts at the marked positions.
Step3
Attach the mounting brackets to the switch. For more information, see
Step4
to the
switch."
Supporting the bottom of the switch, gently place the switch on the rack to a proper location.
Step5
Have another person to fix the mounting brackets with screws (anti-rust screws with cage nuts prepared
Step6
yourself) to the square holes of the rack to install the switch to the rack horizontally, as shown in
19
or
Figure
NOTE:
The method for installing the V1910 Switch Series into a rack is similar. For how to install the switch to a
rack by using mounting brackets, see
position of the mounting brackets as described in
20.
Figure 19
or
Figure 20
Table
14.
18
"Attaching the mounting brackets
according to the model and mounting
Figure
