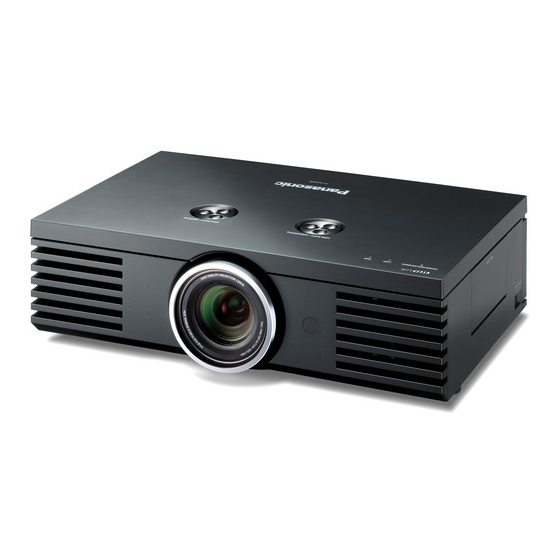
Panasonic PT-AE4000E Funktionelle Anweisungen - Seite 23
Blättern Sie online oder laden Sie pdf Funktionelle Anweisungen für Projektor Panasonic PT-AE4000E herunter. Panasonic PT-AE4000E 50 Seiten. Full high-definition home cinema projector
Auch für Panasonic PT-AE4000E: Betriebsanleitung (36 seiten), Broschüre & Specs (6 seiten), Funktionelle Anweisungen (50 seiten)

3.
Press the
MENU button to display the PICTURE
menu on the right.
PT-AE4000E
PICTURE
POSITION
LANGUAGE
LENS CONTROL
FUNCTION BUTTON
VIERA LINK MENU
OPTION
ENTER
SELECT
RETURN
MOVE AREA
ENTER
GO TO SPLIT ADJUST
4.
Adjust the required
PICTURE menu items.
Only the highlighted menu items are adjustable.
Sub-menu items vary according to the selected input
signal. See "Menu list" on page 17.
5.
Press the
MENU or RETURN button several times
to escape from the menu.
ENTER button.
6.
Press the
The confirmation screen will be displayed. Select
YES to finish the adjustment.
7.
Press the
ENTER button.
Press the ENTER button again to return to the
AREA SELECT.
Press the RETURN button to escape from the SPLIT
ADJUST mode.
ADVANCED MENU
You can perform more detailed image adjustment
manually.
J GAMMA
You can make detailed adjustments to the light
intensity of each input signal level by using the
ADVANCED mode or using the SIMPLE mode to
adjust at 3 levels (high, mid, low).
NOTE:
•
You can only adjust the
either the ADVANCED or SIMPLE mode.
Both settings cannot be used at the same time.
Select GAMMA ADJUSTMENT in ADVANCED
MENU, and press ◄ ► or the ENTER button.
ADVANCED MENU
GAMMA ADJUSTMENT
CONTRAST R
CONTRAST G
CONTRAST B
BRIGHTNESS R
BRIGHTNESS G
BRIGHTNESS B
NR
PICTURE MODE
NORMAL
CONTRAST
0
-
+
-
BRIGHTNESS
0
+
COLOUR
0
-
+
TINT
0
-
+
-
SHARPNESS
0
+
COLOUR TEMPERATURE
0
-
+
DYNAMIC IRIS
ON
WAVEFORM MONITOR
SPLIT ADJUST
ADVANCED MENU
MEMORY SAVE
MEMORY LOAD
MEMORY EDIT
RETURN
GO TO FREEZE SCREEN
GAMMA settings through
ADVANCED
0
0
0
0
0
0
0
Setting the GAMMA with the
Q
ADVANCED mode
1.
The
GAMMA ADJUSTMENT menu will be
displayed and press ◄ ► to select ADVANCED.
GAMMA ADJUSTMENT
ADJUSTMENT MODE
GAMMA HIGH
GAMMA MID
GAMMA LOW
POINT
Y ADJUST
R ADJUST
G ADJUST
SELECT
B ADJUST
RETURN
INITIALIZE
2.
To open the
Y ADJUST menu, press ▲ ▼ to
select Y ADJUST and then press the ENTER
button.
In the graph below
Maximum 9 points are adjustable.
The point counts from lower input signal, 1 to 9.
Y ADJUST
0%
POINT
INPUT
5
CHANGE MODE
CHANGE POINT
RETURN
Information about the present selected point.
The factory default setting:
POINT [5]
INPUT [50 %]
Display the present selected point number.
Your selected point is indicated in yellow on
POINT
the graph.
(The factory default setting: point 5)
Display the input level of the present
selected point.
Setting range: from 1 to 99 % in increments
INPUT
(The factory default setting: 10, 20, 30, 40,
50, 60, 70, 80, 90 %)
Display the output level of the present
selected point.
OUTPUT
Adjustable range depends on the input level.
(The factory default setting: 0)
PICTURE menu
ADVANCED
5
50%
100%
Presents selected point
INPUT
OUTPUT
50%
0
RESET
OUTPUT ADJ.
INTPUT ADJ.
OUTPUT [0]
of 1 %
E
NGLISH - 23
