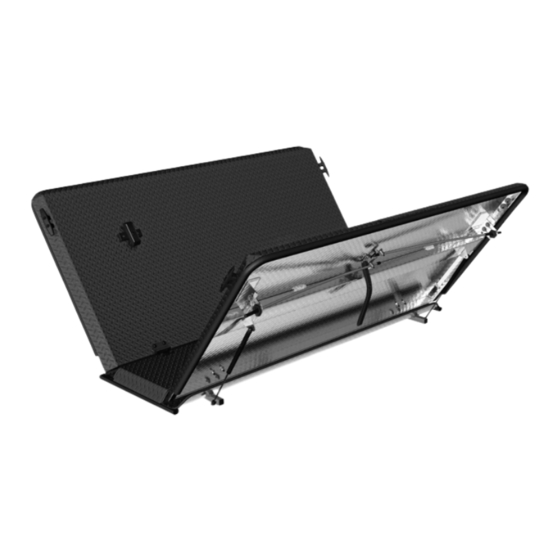
Diamondback SE Installationshandbuch - Seite 2
Blättern Sie online oder laden Sie pdf Installationshandbuch für Zubehör für Kraftfahrzeuge Diamondback SE herunter. Diamondback SE 2 Seiten. Hard tonneau cover for '15–up colorado & canyon with the 61.7" cargo box
Auch für Diamondback SE: Installationshandbuch (2 seiten), Installationshandbuch (2 seiten), Installationshandbuch (2 seiten), Installationshandbuch (2 seiten)

ADJUST THE LOCK RODS
ADJUST THE CAB-PANEL LOCK RODS:
Loosen the set screws on the
8
cab-panel lock rod linkages.
9
Adjust the length of the lock rods and retighten
the set screws so that:
A.
With the lock handle in the closed postion,
the rods travel as close as possible to—but
no more than—1½" past the underside of the
deck rail system.
B. The ends of the lock rods point
toward the bed floor.
To avoid lock handle damage, don't
let the ends of your locking rods
touch the bed wall.
ADJUST THE TAILGATE-PANEL LOCK RODS:
Have a second person press down on a rear
11
corner of the cover. Under the same corner, hold
the rod guide bracket so that its bolts are at the
midpoint of its vertical slots. Mark the points on
the bed wall where the lock rods will hit.
Repeat at the opposite
12
corner.
To ensure the best weatherstrip adhesion, leave your cover and tailgate
closed and locked for 24 hours after you've made your final adjustments.
ATTACH THE SAFETY CATCH & GAS SPRINGS
Fit the safety catch around the ball studs on
16
the driver side of the cab panel.
To ensure the safety catch
works properly, attach it as
shown with the slotted half up
and triangle pointing toward
the cab.
Attach the three remaining gas springs
18
(barrel up, shaft down).
Leave the cover closed and locked for 24
19
hours to allow the weatherstrip adhesive,
which is pressure-sensitive, to fully cure.
WWW.DIAMONDBACKCOVERS.COM
1/8" Hex Key
Position the lock rods tight
10
against the underside of the
deck rail system so that
they'll draw the panels
down and compress the
weatherstrip. Tighten the
rod guide brackets with a
7/16" socket.
To get the weatherstrip compression
necessary for its adhesive to cure and the
cover to keep out the weather, have a
second person press down on the cover
while you're adjusting the lock rods.
Open the tailgate panel. Drill the
13
marks with a 1/8" or 3/16" bit.
Drill the marks again with a 1" bit. Insert a
14
grommet into each hole.
Close the tailgate panel. Repeat steps 8 through 10 for the tailgate
15
panel using the new holes instead of the deck rail system.
Your panels should be very difficult to operate at first. Leave them closed
as much as possible for 3–4 days to break in the weatherstrip. After that
period, you should find that the panels open and close without difficulty.
Attach a gas spring to the
17
same ball studs.
To avoid premature
failure of your gas
springs, attach them
barrel up, shaft down.
7/16" socket
Using the access
panels is easiest
when you press
down as you open or
close them.
MARCH 2015
