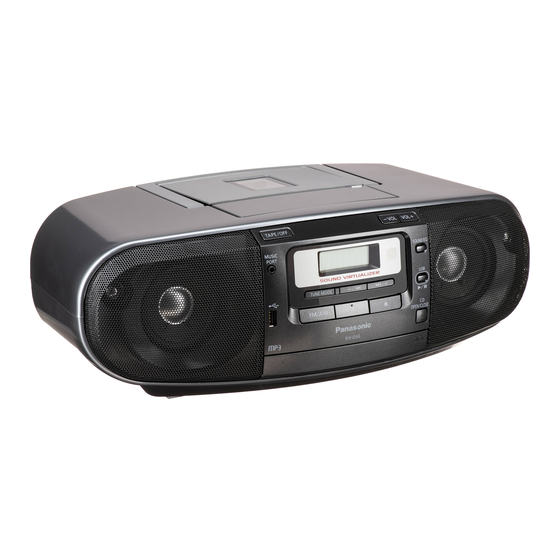
Panasonic RX-D50 Betriebsanleitung - Seite 6
Blättern Sie online oder laden Sie pdf Betriebsanleitung für Stereo System Panasonic RX-D50 herunter. Panasonic RX-D50 28 Seiten. Portable stereo cd system
Auch für Panasonic RX-D50: Betriebsanleitung (12 seiten), Betriebsanleitung (24 seiten), Betriebsanleitung (14 seiten)

Using the FM/AM radio
Manual tuning
Manual tuning
1
Press [FM/AM] to select "FM" or "AM".
2
Press [TUNE MODE] to select "MANUAL".
If "PGM" is displayed, press [TUNE MODE] to clear it.
3
Press [2/3] or [5/6] (main unit: [– /2] or [6/+]) to select
the frequency of the required station.
To tune automatically
Press and hold [2/3] or [5/6] until the frequency starts changing
rapidly. The unit begins auto tuning, stopping when it fi nds a station.
• Auto tuning may not function when there is excessive interference.
• To cancel auto tuning, press [2/3] or [5/6] once again.
To improve reception
FM: Extend the whip antenna and adjust its direction.
AM: Adjust the position of the unit.
To improve FM sound quality
When "FM" is selected
Press [FM MODE] to display "MONO".
To cancel
Press [FM MODE] again.
• MONO is also cancelled if the frequency is changed.
• Turn off "MONO" for normal listening.
Memory preset
Memory preset
Up to 16 stations each can be set in the FM and AM bands.
✒
Preparation
Press [FM/AM] to select "FM" or "AM".
Automatic presetting
RX-D55
1
Press [PLAY MODE] repeatedly to select either "CURRENT" or
"LOWEST".
CURRENT
Tuning begins from the current frequency.
LOWEST
Tuning begins from the lowest frequency.
2
Press [AUTO PRESET] to start presetting.
RX-D50
Press [AUTO PRESET] to start presetting.
The tuner presets all the stations it can receive into the channels in ascending
order. When fi nished, the last station memorised is tuned in.
Manual presetting
1
Press [PROGRAM]
RX-D55
"PGM" is displayed.
2
Within 10 seconds or so
Press [2/3] or [5/6] to tune to
the required station.
3
Press [PROGRAM]
RX-D55
4
Press the numeric buttons to select a channel.
The station occupying a channel is erased if another station is preset to that
channel.
5
Repeat steps 2 to 4 to preset more stations.
Selecting a preset station
Press the numeric buttons to select a channel.
For channels 10 to 16 press [ 10], then the two digits.
OR
1
Press [TUNE MODE] to select "PRESET".
Press [TUNE MODE] to display "PGM".
2
Press [2/3] or [5/6]
(main unit: [– /2] or [6/+]) to select the
channel.
6
6
RX-D55
RX-D50
([MANUAL PRESET]
).
RX-D50
([MANUAL PRESET]
).
RX-D50
RX-D55
RX-D50
Preset channel
AM allocation setting
AM allocation setting
By main unit only
This system can also receive AM broadcasts allocated in 10 kHz steps.
To change the step from 9 kHz to 10 kHz
1
Press and hold [FM/AM].
After a few seconds the display changes to a fl ashing display of the current
minimum frequency.
2
Continue to hold down [FM/AM].
• When the minimum frequency changes, release the button. To return to the
original step, repeat the above steps.
• After the setting is changed, any previously preset frequency will be
cleared.
USB
(
only)
RX-D55
The USB connectivity enables you to connect and play MP3 tracks from USB
mass storage class. Typically, USB memory devices (bulk only transfer).
Connecting a USB mass storage device
Connecting a USB mass storage device
✒
Preparation
Before connecting any USB mass storage device to the unit, ensure that the
data stored therein has been backed up.
It is not recommended to use a USB extension cable. The device connected via
the cable will not be recognised by this unit.
USB enabled
device
(not included)
Playing a USB mass storage device
1
Reduce the volume and connect the USB mass storage device to the
USB port.
2
Press [4/9, USB] to start play.
Stop playback
Press [8] (stop) during play.
"RESUME" is displayed. The position is memorised.
Press [4/9, USB] to resume play.
Press [8] (stop) again to clear the position.
Pause play
Press [4/9, USB] during play.
Press again to resume play.
Skip tracks
Press [2/3] or [5/6] (main unit: [–/2] or
[6/+]).
Skip album
Press [R/T, ALBUM] in the play mode.
Press [R/T, ALBUM] once and then the numeric
buttons in the stop mode.
Recording from a USB mass storage device
1
Press [2/3] or [5/6] (main unit: [– /2] or [6/+]) to select
the desired track for recording.
2
Press [ V
] on the main unit to start recording.
✒
Note
When you connect your digital audio player to the USB port, it charges all the
time except in standby mode.
✒
NOTE on USB
Compatible devices
Devices which are defi ned as USB mass storage class:
• USB devices that support bulk only transfer.
• USB devices that support USB 2.0 full speed.
Supported format
• Folders are defi ned as album.
• Files are defi ned as track.
• Track must have the extension ".mp3" or ".MP3".
• CBI (Control/Bulk/Interrupt) is not supported.
• A device using NTFS fi le system is not supported. [Only FAT 12/16/32
(File Allocation Table 12/16/32) fi le system is supported.]
• Depending on the sector size, some fi les may not work.
• Maximum album: 255 albums
• Maximum track: 2500 tracks
• Maximum track in one album: 999 tracks
