EasyPro PA10 Installation - Betrieb Wartung Manuallines - Seite 3
Blättern Sie online oder laden Sie pdf Installation - Betrieb Wartung Manuallines für Rasen- und Gartengeräte EasyPro PA10 herunter. EasyPro PA10 8 Seiten. Diffused aeration systems
Auch für EasyPro PA10: Installation, Betrieb, Wartung Manuallines (8 seiten)

were received. If a shortage occurs, please notify us immediately.
2.
Screw the two airstones into the PVC manifold. Do not overtighten! Hand
tighten only!
3.
Slide one end of the tubing onto the barbed adapter coming out of the PVC
manifold. Clamp this connection using the clamp provided.
4.
Position the PVC manifold and airstones onto the white plastic underlay. Use
the plastic straps provided to attach the manifold to the underlay.
5.
Attach the other end of the tubing to the compressor and tighten.
After one or two years of operation, you will possibly notice a sudden drop in air
bubbles. This is a sure sign that the diaphram has cracked and needs replacing.
Repair kit DC22RK has all the items necessary to rebuild your compressor.
Be sure to clean the inlet air filter on your compressor regularly. Wash dirty air filters
in soapy water. Replacement filters are available.
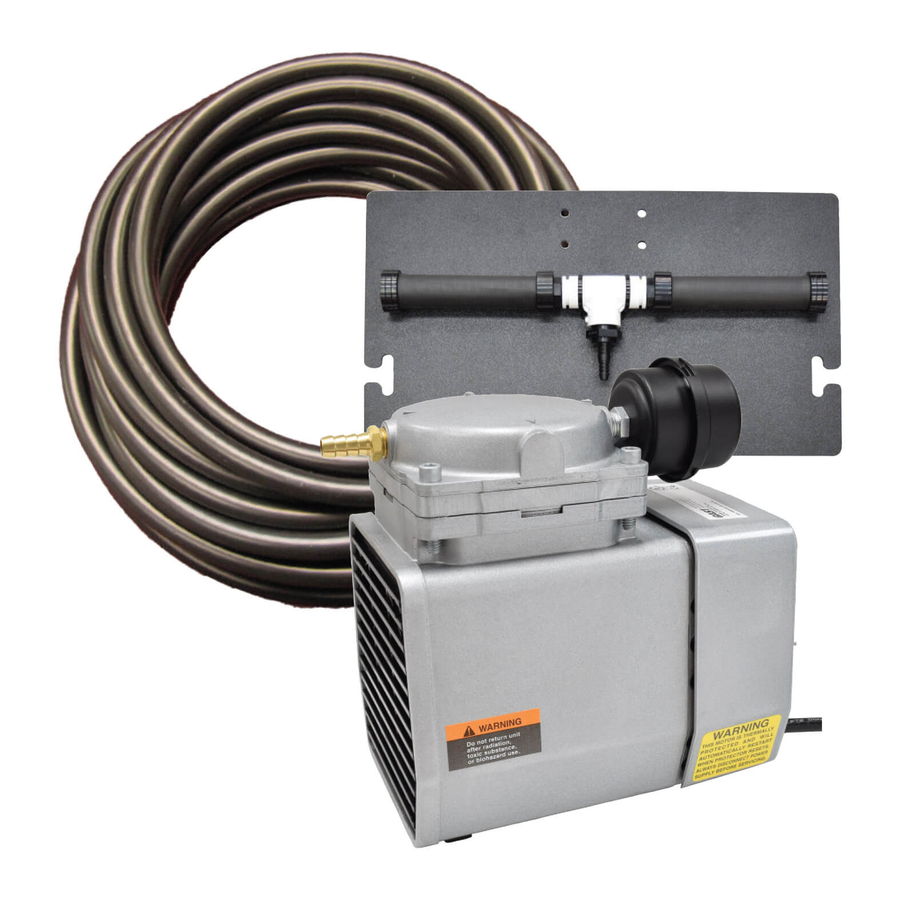
PA10 Packing List:
Description
Air Compressor w/filter
PVC Manifold w/Check Valve
Air Diffusers
Tie Straps
Tubing Clamps
50' Roll Tubing
_____' Additional Tubing
12" x 21" Underlay
Packed By:
PA12 Aeration System ...
The PA12 aerator features a 1/8 horse power
continuous duty air compressor, 50' of tub-
ing and a pond diffuser. Once the air diffuser is
assembled and the tubing is attached, you are
ready to install the diffuser. Always unroll the
tubing completely before installing the diffuser.
The diffuser can be lowered into your pond with a rope. Often a float, such as a duck
decoy or a milk jug, will be used so retrieval of the diffuser is possible.
Assembly:
1.
Unpack all the parts. Compare parts with packing list below to ensure all parts
were received. If a shortage occurs, please notify us immediately.
2.
Screw the two airstones into the PVC manifold. Do not overtighten! Hand
tighten only!
3.
Slide one end of the tubing onto the barbed adapter coming out of the PVC
manifold. Clamp this connection using the clamp provided.
4.
Position the PVC manifold and airstones onto the white plastic underlay. Use
the plastic straps provided to attach the manifold to the underlay.
5.
Attach the other end of the tubing to the compressor and tighten.
After one or two years of operation, you will possibly notice a sudden drop in air
Quantity
1
1
2
3
2
1
1
Date:
3
Packed
# of Boxes:
