DIBSIES MODERN EXPRESSIONS TOY BOX Montageanleitung - Seite 9
Blättern Sie online oder laden Sie pdf Montageanleitung für Inneneinrichtung DIBSIES MODERN EXPRESSIONS TOY BOX herunter. DIBSIES MODERN EXPRESSIONS TOY BOX 10 Seiten.
INSTRUCTIONS
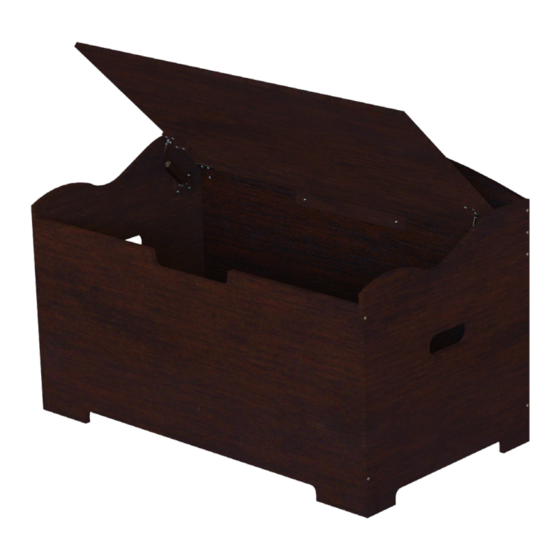
Step 9 - Attaching the Hinges
1.
Locate the Part J
With the help of another person, keep the
lid open at an angle less than 90 degrees
and locate the Part J hinge. The hinge
will be attached to the matching holes as
shown. Make sure the spring side of the
hinge faces the rear of the toy box.
2.
Locate the Part D screws
Next, locate four Part D screws and align
the screws to the following holes.
3.
Secure the Part J hinge
and tighten screws
Secure the Part J hinge to the assembly
by tightening the four Part D screws. Use
a Phillips screwdriver to tighten the screws.
Take care not to over tighten the screws
9
hinge
4.
Repeat these steps for the
opposite side
Locate the second Part J hinge and repeat
these same steps on the opposite side and
secure the hinge.
5.
Attach the Part K inserts
Locate two Part K inserts and place them
into the side hole on each side, as shown.
6.
Repeat these steps for the
opposite side
Locate two more Part K inserts and repeat
these same steps on the opposite side.
Installation is now complete!