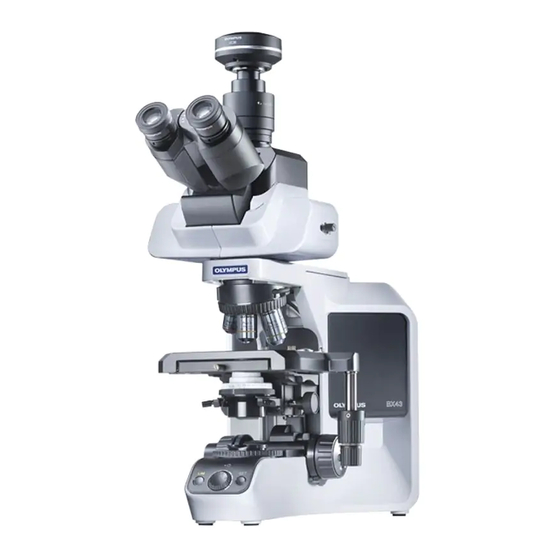
Olympus BX43 Anleitung Handbuch - Seite 16
Blättern Sie online oder laden Sie pdf Anleitung Handbuch für Mikroskop Olympus BX43 herunter. Olympus BX43 48 Seiten. System microscope

3
Adjusting the Centering
1
Place the specimen.
2
Rotate the revolving nosepiece to select the 10X objective.
3
Rotate the knobs to bring the specimen into focus.
4
Rotate the knob to raise the condenser to its upper limit.
Rotate the field iris diaphragm ring in the direction of the arrow so that the diaphragm image comes inside the field
5
of view.
6
Rotate the knobs to focus on the field iris diaphragm image (A in Fig. 9).
7
Turn the two condenser centering screws to move the iris diaphragm image to the center of the field of view (B in Fig. 9).
8
Gradually open the field iris diaphragm until its image is inscribed in the field of view (C in Fig. 9).
9
Open the field diaphragm slightly until its image circumscribes the field of view slightly (D in Fig. 9).
} Be careful not to rotate the condenser clamping screw, located behind the centering knobs, by mistake.
} When using a condenser with top lens such as the U-SC3, engage the top lens in the light path before proceeding to
the centering adjustment.
4
Adjusting the Contrast
1
Set the condenser aperture iris diaphragm ring so that the condenser NA scale position indicates 70% of the NA of the
objective in use. After this, observe the image and fine adjust the aperture iris diaphragm to the desired condition.
2
The image of the aperture iris diaphragm can be viewed by removing the eyepieces and looking into the observation
tube. Adjust so that the image looks approximately like that shown in the figure above.
12
2
4
6
A
Fig. 9
Movement of Field Iris Diaphragm Image
N.A. scale
3
8 9
B
1
1
7
5
C
Aperture iris
diaphragm image
Objective pupil
D
70-80%
30-20%
2
