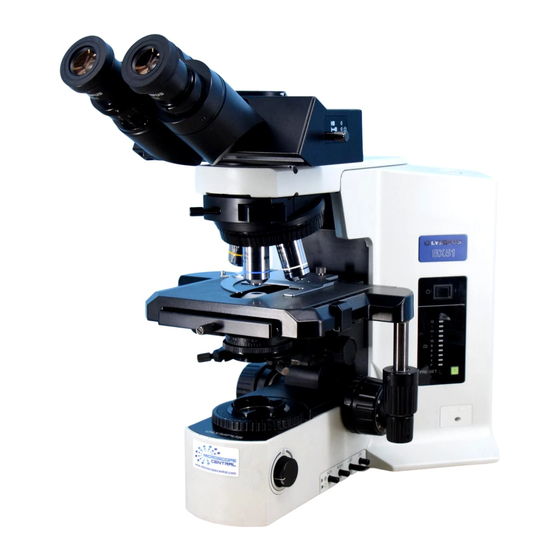
Olympus BX51 Betriebshandbuch - Seite 6
Blättern Sie online oder laden Sie pdf Betriebshandbuch für Mikroskop Olympus BX51 herunter. Olympus BX51 11 Seiten. System
Auch für Olympus BX51: Betriebshandbuch (17 seiten), Anleitung Handbuch (40 seiten), Anleitung Handbuch (34 seiten), Anleitung Handbuch (37 seiten)

BRIGHTFIELD Transmitted light
White light transmits through a transparent sample from underneath.
1. Turn on the white (halogen) light switch (1) for transmitted light to "│" (ON).
2. Engage the bright field (BF) mirror unit (17).
3. Adjust the light path. The light path selector knob (2) should be pushed in all the way.
4. Select transmitted light (lower position) on the switch by the brightness indicator (4).
5. Adjust the light intensity using the brightness adjustment knob (3). The numerals by the lamp voltage
indicator (4) indicate the voltage. Deselect the "PRESET" button (not illuminated green) to avoid
maximum illumination.
6. Adjust the interpupillary distance. While looking through the eyepieces, adjust the eyepieces (5) until the
left and right fields of view coincide.
7. Swing the 2.5x objective (6) in place. Mount the specimen on the stage (7).
8. Find the specimen using the stage controls (9).
9. Focus on the specimen using fine/course focusing knobs (10).
10. Adjust the diopter:
‐ Close your left eye and focus on the specimen using the fine focus knob.
‐ Close your right eye and focus on the specimen using the diopter ring (11) on the left ocular.
‐ Open both eyes to see if the focus is correct.
11. If needed, switch to the next objective by rotating the nosepiece (12) and focus.
Continue to the desired magnification.
12. Establish Koehler illumination:
‐ Close the field iris diaphragm (13) until you can see the edges.
‐ Focus the image of the field iris diaphragm by raising or lowering the condenser using the condenser
height adjustment knob (14).
‐ Check whether the light is centered in the field of view. If not, use the condenser centering screws
(15) to move the field iris diaphragm image to the center of the field of view.
‐ Open the field iris diaphragm until its image circumscribes the field of view.
‐ Match the opening of the condenser aperture iris diaphragm (16) with the N.A. of the objective in
use to achieve the optimum objective performance.
13. Examine specimen and take a picture, if needed (See page 9 for details).
14. When finished:
‐ Lower the stage by turning the focus knob (10) and remove the specimen.
‐ Turn the nosepiece (12) until the 2.5x objective is into place.
‐ Lower the light intensity to zero using the brightness adjustment knob (3)
‐ Turn the halogen light switch (1) to "
‐ Return any slide filters (26) (31) (32) to their disengaged positions.
○
" (OFF).
6
