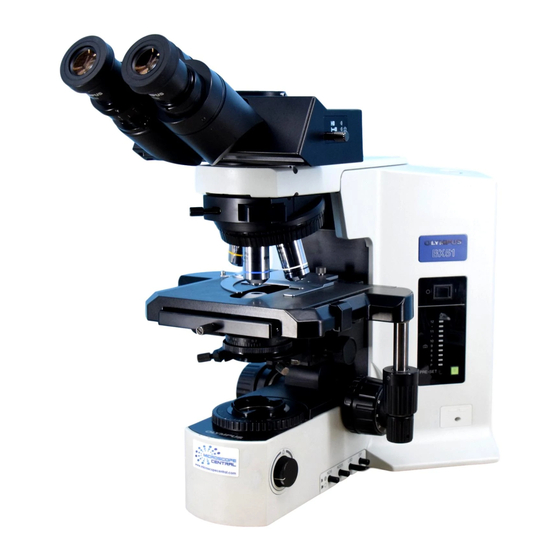
Olympus BX52 Anleitung Handbuch - Seite 10
Blättern Sie online oder laden Sie pdf Anleitung Handbuch für Mikroskop Olympus BX52 herunter. Olympus BX52 37 Seiten. System

USING THE CONTROLS
3-1 Base
@
Fig. 3
Fig. 4
8
1
²
2
@
²
3
Voltage Indication
1. Turn the brightness adjustment knob @ clockwise to increase the volt-
age and make illumination brighter.
2. The numerals to the right of the lamp voltage indicator LEDs ² indicate
the voltage.
Using the Light Intensity Preset Switch
}The light intensity preset switch @ makes it possible to limit the light
intensity to a preselected level regardless of the position of the bright-
ness adjustment knob.
The light intensity preset has been preset to optimum brightness for
photography when the built-in LBD filter is engaged (approx. 9 V with
marking).
1. Press the light intensity preset switch @ to the ON position. (The face of
the switch lights when it is ON.)
2. Using a small flat-blade screwdriver, turn the preset adjustment screw ²
to obtain the required light intensity. Turning the screw clockwise increases
brightness.
3. When the light intensity preset switch is set to OFF, the brightness returns
to the level set by the brightness adjustment knob.
# While the light intensity preset switch is ON, turning the light bright-
ness adjustment knob does not affect brightness.
Using the Filters
}You can place a filter in the light path with one of the following methods.
· Push in the knob of the desired built-in filter to engage it in the light path.
· Place a filter on the filter mount on the base and engage in the light path.
· Insert a filter in the U-FC filter cassette, attach it on the filter mount and
engage it in the light path by sliding the filter lever. (Page 9)
(Fig. 3)
(Fig. 4)
(Figs. 5 - 10)
(Page 9)
(Page 9)
