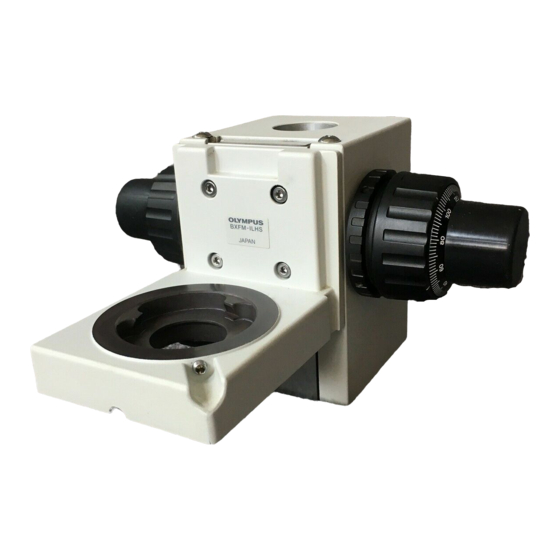
Olympus BXFM Series Anleitung Handbuch - Seite 20
Blättern Sie online oder laden Sie pdf Anleitung Handbuch für Mikroskop Olympus BXFM Series herunter. Olympus BXFM Series 36 Seiten. Focusing unit

TROUBLESHOOTING GUIDE
Under certain conditions, performance of the unit may be adversely affected by factors other than defects. If problems occur,
please review the following list and take remedial action as needed. If you cannot solve the problem after checking the
entire list, please contact your local Olympus representative for assistance.
Problem
1. Optical System
a) Bulb lights but the field of view is
dark or invisible.
b) Field of view is obscured or not
evenly illuminated.
c) Dirt or dust is visible in the field of
view.
d) Visibility of observed image is poor.
· Image is not sharp.
· Contrast is poor.
e) One side of image is blurred.
Image looks like flowing.
2. Observation Tube
a) Field of view of one eye does not
match that of the other.
3. Coarse/Fine Adjustment Knobs
a) Coarse adjustment knob is too
heavy to rotate.
b) Focusing unit drifts down by itself,
causing a loss of focus during ob-
servation.
17
Cause
Bulb is burned out.
Light path selector knob of trinocular tube
is positioned halfway.
Revolving nosepiece is not in a click
position.
Light path selector knob of trinocular tube
is positioned halfway.
Filter is not in a click position.
Dirt/dust on lamp bulb
Dirt/dust on specimen
Dirt/dust on extremity of objective
Dirt/dust on eyepiece
Objective is not correctly engaged in light
path.
Objective or eyepiece in use is not speci-
fied models.
Specimen is tilted.
Objective is not correctly engaged in light
path.
Light axis is tilted because weight is
heavier than specified.
Interpupillary distance is incorrect.
Incorrect diopter adjustment.
Different eyepieces are used on left and
right.
You are not accustomed to parallel opti-
cal axis.
Rotation tension adjustment ring is too
tight.
Tension adjustment ring is too loose.
Remedy
Replace bulb.
Push light path selector knob in.
Set it in a click position.
Push light path selector knob com-
pletely in or out.
Set it in a click position.
Clean thoroughly.
Make sure that revolving nosepiece
clicks into place correctly.
Replace it with a specified model.
Correct specimen positioning.
Make sure that revolving nosepiece
clicks into place correctly.
Reduce number of modules to or be-
low weight limit.
Adjust interpupillary distance.
Adjust diopter.
Change on eyepiece to match the
other so that both sides are the same
type.
When looking into eyepieces, do not
stare at image from the beginning but
see the overall field of view. It is some-
times recommended to turn your eyes
away from eyepieces, look far off and
look into eyepieces again.
Loosen ring to an optimum tightness.
Tighten ring to an optimum tightness.
Page
26
12
–
12
13
3
–
22
9
–
2
11
11
11
–
10
10
