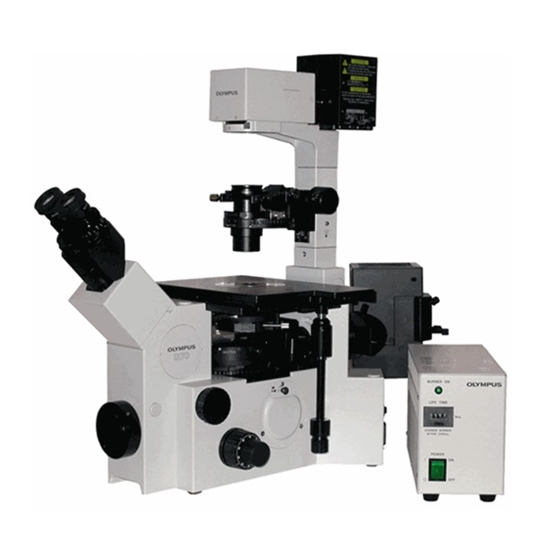
Olympus IX70 Betriebshandbuch - Seite 27
Blättern Sie online oder laden Sie pdf Betriebshandbuch für Mikroskop Olympus IX70 herunter. Olympus IX70 32 Seiten. Inverted fluorescent microscope
Auch für Olympus IX70: Betriebsanleitung (5 seiten)

NOTICE: MF can sometimes 'forget' the camera is 12-bit (senile code) and the images will come
up as 8-bit (see scale on side of image or histogram); it's a bug. This happens if you don't load a protocol
before hitting NEW, or actually create a new protocol. To correct it, you need to close the experiment, use
the File/select video channel/camera and re-select Retiga monochrome-12 bit (even though it looks
selected). You will be back to normal. So, the first task in creating a new protocol is to go to FILE\select
camera and re-pick 12-bit mode.
You should set the sampling time you desire in the Expt Control Panel button 'Set Timelapse'.
You can enter the total number of points you desire or the duration. Entering "0" for # points makes the
collection run until stopped; you still want to tell it how often to sample, though. You can check the
parameters by using the Acquire One sidemenu button (it grabs ONE SET). The other buttons below it
grab only the associated wavelength (1-5).
Be sure to check the boxes for logging ROI data (we're getting there next) and images otherwise it
runs and you save nothing. The first time you check a box, MF will ask you for a filename and location.
Data can be sent to MS Excel and/of a text file. The Save images enables storage of anything (and at
interval) you set in the 'Cfg Expt' menu. The little lights to the right will be colored for data channels that
will be saved. MF hasn't evolved from DOS days, so naming schemes still have to be limited to 7
characters (it appends a 'd' to the 'inf' name and a 1-5 to describe the wavelength to images, and the file
descriptor is sequence #)(the inf file contains timing info, event marks, etc; don't get rid of it).
locations for reuse, else the location of the upper left point is stored in data logs (but no shape/size info).
Set thresholds on one or more channels to exclude background from ratio calculations. Only data
above (each) threshold are used in calculations. Only data that are below the top limit are used as well (so
saturated pixels drop out giving wrong impression that average ratio is dropping; a good reason to save
images and check for this). Press the 3bar icon, pick autothreshold for light objects and adjust blue
triangles, if needed, to delimit "signal".
Zero the elapsed time clock (Expt Cntl Panel), then hit Acquire or the F2 key (F4 pauses).
PDF Created with deskPDF PDF Writer - Trial :: http://www.docudesk.com
CLEAR all
ROI
Next define ROIs and any
calibrations and thresholds. Hit the
Regions button on the sidemenu. The next
dialog lets you pick the channel to define
ROIs on and to collect an image if you
haven't done that yet. Pick a drawing tool
from the icons at the top (I like circle),
start at upper left of where you want to
draw and you can stretch the size by
holding left mouse button and dragging
down and right. You can right-click over
ROI icons to set default size (make this
smaller than you normally want, maybe 5-
10 pixels, since it's easy to stretch it
during creation). The closed, squiggly
icon is the freehand draw; you can draw
while holding the left mouse button down
(continuously) or tack down a few points
to have linear spans connecting the 'dots'.
You need to double click to stop the ROI.
ROI can overlap. You can save the ROI
27
