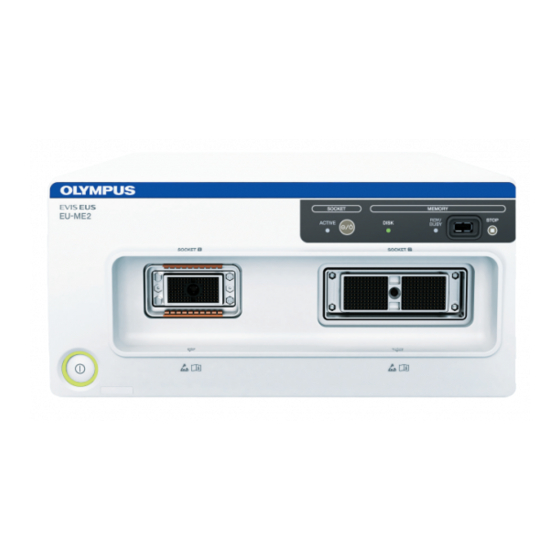
Olympus EU-ME2 Premier Plus Kurzreferenz-Handbuch - Seite 2
Blättern Sie online oder laden Sie pdf Kurzreferenz-Handbuch für Medizinische Ausrüstung Olympus EU-ME2 Premier Plus herunter. Olympus EU-ME2 Premier Plus 4 Seiten. Removal of patient data
Auch für Olympus EU-ME2 Premier Plus: Kurzreferenz-Handbuch (2 seiten)

EU-ME2, EU-ME2 Premier Plus
Quick Reference Guide - Setup
CAUTION:
This quick reference guide is only a summary of the EU-ME2, EU-ME2 Premier Plus Instructions for Use. For detailed operating instructions, be sure to follow
the EU-ME2, EU-ME2 Premier Plus Instruction Manual included with your EU-ME2 or EU-ME2 Premier Plus purchase.
1
Press the
ID INPUT
2
Enter all the necessary data and click
* ID input is mandatory to save data after examinations.
* When the EU-ME2 is integrated with the CV-190 or CV-180, ID input is not available on the EU-ME2 and patient data must be entered via the
CV-190 or CV-180 system.
1
Press the B,
FLOW
respectively.
2
Press the
ELST
button to select Elastography mode.
* It is not possible to switch modes while in the FREEZE mode. Select modes in LIVE mode only.
* Refer to the separate guide regarding the FLOW mode selection (COLOR FLOW, POWER FLOW, and H-FLOW).
* Refer to the separate guide regarding the Elastography mode..
ELST
* The
button on the LCD touch panel is displayed in the upper right corner of the
* The
ELST
button will only appear on the EU-ME2 Premier Plus.
key and the
Patient Data
OK
to proceed.
ID INPUT Key
and
PW
keys on the keyboard to select the B mode, FLOW mode and Pulse Wave Doppler mode,
ID Input
screen appears on monitor.
Patient Data Screen
Mode Selection
MAIN MENU
MODE Buttons (LCD)
Elastography
(shown right after unfreezing).
MODE Keys
Pulse Wave Doppler
FLOW Mode
B Mode
2
