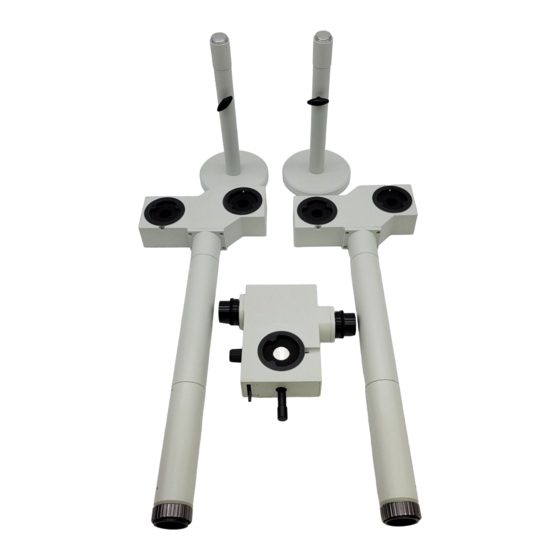
Olympus U-DO3 Anleitung Handbuch - Seite 3
Blättern Sie online oder laden Sie pdf Anleitung Handbuch für Laborausrüstung Olympus U-DO3 herunter. Olympus U-DO3 18 Seiten. For 2, 5, 9, 10 and 13 persons
Auch für Olympus U-DO3: Anleitung Handbuch (40 seiten)

This System employs a UIS (Universal Infinity System) Optical design, and should be used only with UIS microscopes,
eyepieces, objectives and condensers for the BX2 series. (Same of the modules designed for the BX series are also
usable. For details, please consult
Olympus or the catalogues.) Less than Optimum Performance may result if
inappropriate accessories are used.
1. This manual pertains only to the discussion attachments. Before using this attachment together with the microscope and
associated Options, make Sure that you have carefully read and understood their manuals, and understand how the
System should be operated together
2. The discussion attachments have a field number of 22. When a discussion attachment is combined with an superwide-
field Observation tube, the pointer cannot be moved around the entire range of the field of view. Also note that a ghost of
pointer may be observed in such a case.
3. If the eyepiece in use incorporates a micrometer, ghost may be observed with dark specimens.
4. To prevent stray light:
l
Make Sure to cover the eyepieces which are not attended by the assistant observers with stray light prevention covers.
Page 9)
l
Make Sure to attach taps to the unused Observation tube and side-view tube mounts.
5. Always use the power Cord and AC adapter provided by Olympus. If no power Cord is provided, please select the proper
powercord by referring to the section "PROPER SELECTION OFTHE POWER SUPPLY CORD" at the end of this instruction
manual. If the proper power Cord is not used, product safety and Performance cannot be guaranteed.
6. To ensure safety, disconnect the power plug of the AC adapter from the power outlet after Operation.
7 Fix the AC adapter Cord at positions where it does not come in the way of microscope Operation. Take care not to bring the
power Cord in contact with the lamp housing.
1 Safety Symbols 1
The following Symbols are found on the microscope. Study the meaning of the Symbols and always use the equipment
in the safest possible manner
Supply DC current (from the provided AC adapter).
/
-@
/
Indicates an input jack
\'/
c='
'1'
Indicates a pointer
1. Clean all glass components by wiping gently with gauze. To remove fingerprints or oil smudges, wipe with gauze slightly
moistened with a mixture of ether (70%) and alcohol (30%).
ASince
solvents such as ether and alcohol are highly flammable, they must be handled carefully. Be Sure to keep
these chemicals away from open flames or potential sources of electrical Sparks - for example, electrical equip-
ment that is being switched on or off. Also remember to always use these chemicals only in a weil-ventilated room.
2. With any part of the System other than glass components gets dirty do not use organic solvents. If a plastic part gets dirty
use a cloth moistened with a diluted neutral detergent.
3. DO not disassemble
any part of the System. This could result in malfunctions or reduced Performance.
4. When the attachment is not used, make Sure to put the dust cover on it.
1
0
