Olympus U-RFLT50 Anleitung Handbuch - Seite 7
Blättern Sie online oder laden Sie pdf Anleitung Handbuch für Laborausrüstung Olympus U-RFLT50 herunter. Olympus U-RFLT50 16 Seiten. Power supply unit
Auch für Olympus U-RFLT50: Anleitung Handbuch (36 seiten)
- 1. Table of Contents
- 1. 2 Assembly
- 1. Assembly Diagram
- 1. Mounting the Mercury Burner
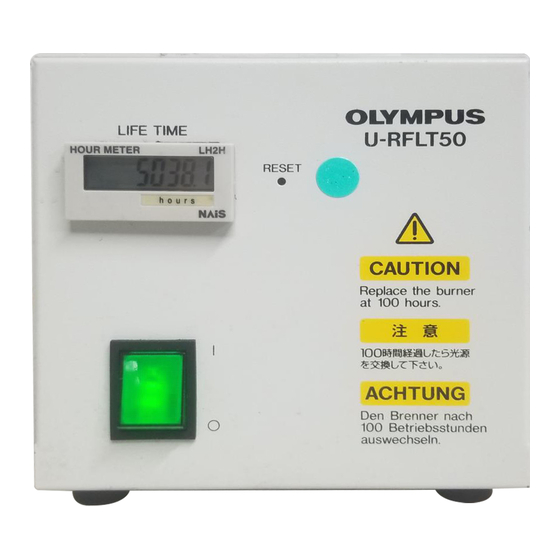
- 1. Setting the Voltage Selector Switch
- 1. Connecting Cords and Cables
- 2. 3 Preparation for Observation
- 2. Turning on the Mercury Burner
- 2. Centering the Mercury Burner
- 3. 4 Specifications
- 4. 5 Troubleshooting Guide
- 4. Proper Selection of the Power Supply Cord
2-2 Mounting the Mercury Burner
Fig. 1
ƒ
|
²
³
Fig. 2
Fig. 3
þ
Applicable Burner
} The type of burner should be registered in the power supply unit.
Accordingly, check the burner's container or the burner socket indication
1
to see whether the burner is an L
1. Using the Allen wrench, loosen the burner socket clamping screw @. Then
gently open the socket approximately 90° in the direction of the arrow.
2. Loosen the burner clamping screws ² and ³ and remove the transport
post.
} For burner replacement, remove the used burner.
3. Insert the side of the mercury burner | with no UP engraving into the
bottom terminal and tighten the clamping screw ² loosely. Then loosely
tighten the clamping screw ³ holding the UP side of the burner.
# The OSRAM mercury burner | has a projected seal section ƒ on the
burner tube. As insufficiency or irregularity in illumination may result
if this section blocks the light path, make sure that it comes on the
UP
lamp socket side.
# If the terminals of the mercury burner are reversed, optimum illumi-
nation performance will not be obtainable. The burner life time may
also be reduced.
# Avoid leaving fingerprints or dirt on the mercury burner. Dust or other
contaminants left on the burner surface may lead to the appearance
of dark spots in the field of view. If the burner is contaminated, clean it
by wiping gently with gauze slightly moistened with absolute alcohol.
4. Return the burner socket with the mounted burner to its original position
and tighten the socket clamping screw @.
} A click will be heard when the socket clamping screw @ is tightened. This
sound indicates that the safety interlock switch is functioning correctly.
5. Set the burner type selector ƒ on the rear panel of the power supply unit
to the position corresponding to the mounted burner type (L
# If the socket clamping screw @ is accidentally loosened while the
burner is ON, the safety interlock function will automatically turn OFF
the burner. To turn ON the burner again, press the power supply unit's
main switch to "
Tighten the socket clamping screw firmly and press the main switch
to " I " (ON).
ƒ
* Approximately 10 minutes are required for the mercury vapor inside
the mercury burner to cool and condense to a liquid.
Caution When Replacing the Burner During or Immediately After
Observation
The surfaces of the lamp housing will be extremely hot during and
immediately after operation.
Whenever you replace the burner during use or right after use, first
press the main switch on the power supply unit to "
wait for the lamp housing and parts near the burner to cool before
touching.
ý
HBO50W/AC (OSRAM)
CS50W4 (PHILIPS)
or L
1
2
" (OFF) and wait approximately 10 minutes*.
U-RFLT50
(Figs. 1-4)
type burner.
or L
).
1
2
" (OFF) and
2