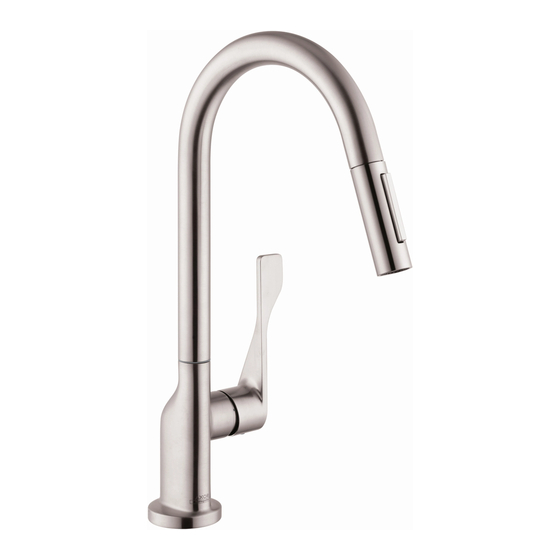
Axor Citterio 39835 1 Series Installation/User Instructions/Warranty - Seite 7
Blättern Sie online oder laden Sie pdf Installation/User Instructions/Warranty für Sanitärprodukt Axor Citterio 39835 1 Series herunter. Axor Citterio 39835 1 Series 20 Seiten. 2-spray pull-down
Auch für Axor Citterio 39835 1 Series: Installation/User Instructions/Warranty (20 seiten)

I N S T A L L A T I O N / I N S T A L L A T I O N / I N S T A L A C I Ó N
1
2
Place the faucet and sealing ring on the mounting
surface. Install the plastic washer, friction washer, metal
washer, and mounting nut.
If the mounting surface is thicker than 1⅜"(35mm) or if
there is insufficient space, omit the plastic washer.
Placez l'anneau d'étanchéite et le robinet sur la surface
de montage. Installez la rondelle de plastique, la
rondelle en fibre, la rondelle de friction, et l'écrou de
montage.
Si l'épaisseur du comptroi dépasse 1⅜" (35mm) ou si
l'espace disponible est insuffisant, omettez la rondelle de
plastique.
Coloque el oro de sellado y el grifo sobre la superficie
de montaje. Instale la arandela plástica, la arandela de
fibra, la arandela de fricción y la tuerca de fijación.
Si el espesor de la mesada es superior a 1⅜ pulg.
(35mm) o si no hay suficiente espacio, puede omitirse la
arandela plástica.
Tighten the mounting nut.
Tighten the screws.
Serrez l'écrou de montage et les vis de serrage.
Apriete la tuerca de fijación y los tornillos.
7
