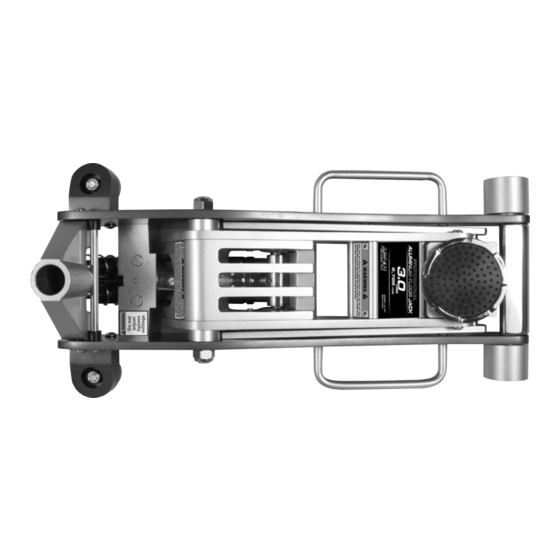
Arcan ALJ3T Teile- und Betriebshandbuch - Seite 3
Blättern Sie online oder laden Sie pdf Teile- und Betriebshandbuch für Buben Arcan ALJ3T herunter. Arcan ALJ3T 3 Seiten. 3 ton capacity aluminum service jack

OwNER/USER RESPONSIbILITy
The owner and/or user must have a thorough understanding
of the manufacturer's operating instructions and warnings
before using the floor jack. Personnel involved in the use
and operation of equipment shall be careful, competent,
trained, and qualified in the safe operation of the equipment
and its proper use when servicing motor vehicles and their
components. Warning information should be emphasized
and understood. If the operator is not fluent in English, the
manufacturer's instructions and warnings shall be read to
and discussed with the operator in the operator's native
language by the purchaser/owner, making sure that the
operator comprehends its contents. Owner and/or user must
study and maintain for future reference the manufacturer's
instructions and pertinent warning information. Owner and/
or user is responsible for keeping all warning labels and
instruction manuals legible and intact. Replacement labels
and literature are available from the manufacturer.
LUbRICATION
All moving joints require lubrication on a regular
maintenance schedule. Remove handle and grease the
lower end of handle where it rotates in the handle socket.
Using a grease gun, grease the lift arm pivot shaft grease
fitting until grease appears at the end of the shaft. Grease
all lift arm linkages, front wheels and rear casters.
OPERATING INSTRUCTIONS
IMPORTANT: Before attempting to raise a vehicle, check
vehicle service manual for recommended lifting surfaces.
1. To raise load: Close release valve tightly (by turning
handle clockwise). Position jack under load so that
ALJ3T © 2007 Arcan Tools
saddle will contact load firmly and load is centered so it
cannot slip. Operate jack handle until saddle approaches
the load. Once again check to see that saddle is correctly
positioned. Raise load to desired height. Place jack
stands of appropriate capacity under the vehicle. DO
NOT CRAWL UNDER VEHICLE WHILE LIFTING VEHICLE
OR PLACING OR REMOVING JACK STANDS! Place jack
stands at vehicle manufacturer's recommended lift areas
that provide stable support for the raised vehicle.
2. To lower load: Open release valve VERY SLOWLY (by
turning handle counterclockwise). When release valve
is opened, saddle and load will be lowered. Lower the
vehicle slowly so as not to shock load the jack stands.
Once repairs are completed, raise vehicle enough to
remove jack stands. Lower vehicle very slowly.
CAUTION: Keep hands or feet away from the hinge
mechanism of the jack.
PROPER STORAGE
It is recommended that the jack be stored in a dry
location with all wheels touching the ground on a relatively
level surface.
TROUbLESHOOTING
Important: Service jacks are self-contained devices used
for lifting, but not sustaining, a partial vehicular load. In
accordance with ASME PALD standard, section 10-4.1.2
Load Sustaining Test: "A load not less than the rated
capacity shall not lower more than 1/8" (3.18mm) in the first
minute, nor a total of .1875" (4.76mm) in 10 minutes." Leak
down within this range is considered normal operation and
is NOT a warrantable defect.
The release valve is not closed. Turn the valve clockwise tightly.
If this does not work, remove handle, lubricate handle
receptacle and handle end, then retry.
Low on hydraulic fluid. Refill the jack to the correct level of
hydraulic fluid.
Pump seals or back-up ring may be defective. Clean hydraulic fluid
passages, replace seals and refill hydraulic fluid.
(Must be serviced by qualified service center)
The hydraulic system has trapped air.
Open the release valve, pump handle rapidly (4) full strokes
to purge air, close release valve.
Return spring is broken or linkages are binding. Replace spring if
broken. Grease pivot shaft and all lift arm linkages.
Discharge ball is not sealing hydraulic system and oil may be dirty.
Manually flush hydraulic system. Open the release valve, as required,
to raise and lower the lift arm. Manually raise
and lower lift arm.
3
SOLUTIONS
rev. 02/26/07
