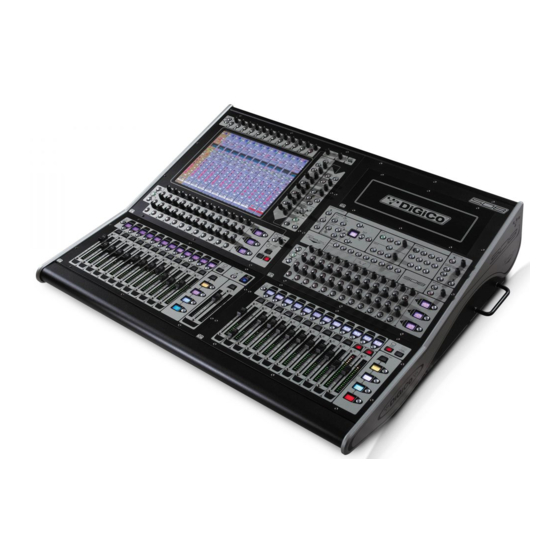
digico SD8 Handbuch - Seite 8
Blättern Sie online oder laden Sie pdf Handbuch für Musik Mixer digico SD8 herunter. digico SD8 9 Seiten. Replacing and cleaning faders
Auch für digico SD8: Sicherheitshinweise, Setup- und Installationshandbuch (13 seiten)

S-Series - S21 and S31
This section is for the cleaning and replacement of faders in S21 and S31 consoles only.
Part Numbers – see
Appendix 1 – Fader Table
•
Input fader: 681-00177
•
Master fader: 681-00178
Replacing Faders
1. Power down the console, switch off the PSU's and
connect your antistatic strap to an appropriate
earthing point.
2. Unscrew the front panel with the 2mm Hex driver
and store these screws somewhere safe. There are
10 screws on the S31 and 8 screws on the S21.
3. Carefully lift the front edge of the panel and prop
the panel up so that you can reach inside. (see picture →)
4. Identify which faders will be replaced and remove the
fader knobs and disconnect the fader connector from the
fader driver PCB.
5. Use a 2mm Hex driver to remove the screws at the top and bottom of the first fader, store them
somewhere safe. Carefully remove the fader and place to one side.
6. Repeat the fader removal (steps 4 and 6) for the remaining faders to be replaced.
7. Using the vacuum cleaner and the paintbrush, gently clean the panel, PCBs, and the area inside of
the console.
8. Install the new faders, plug the faders into the PCB, carefully put the console panel back in place and
screw down.
9. Switch the console on and test the functionality of the faders and buttons.
Cleaning Faders - Follow steps 1 – 6 above
10. When removing faders, remember which order they were in and label them if necessary.
11. Use the compressed air to dislodge any dust and dirt from the inside of the fader assembly, then use
the vacuum cleaner to remove the dust and dirt. Repeat as necessary.
12. Lay the fader on paper towels, place the thin nozzle of the cleaner-lubricant spray along the fader
slot and with the fader at one end spray for no more than 1 second.
13. Move the fader up and down approximately 20 times and use the paper towel to wipe up any excess
or dirty liquid.
14. Repeat steps 11 - 13 for the remaining faders.
15. Re-install the faders, screw down the fader driver PCB, plug the faders into the PCB, and carefully re-
plug the connectors to the PCB's. Place the fader panel back into the console, switch the console on
and test the functionality of the faders and buttons – the panel can now be screwed back into place.
TN 559 – Cleaning and replacing faders - All consoles
for full details
Input fader with plug – S21, S31
Master fader with plug – S21, S31
Page 8
