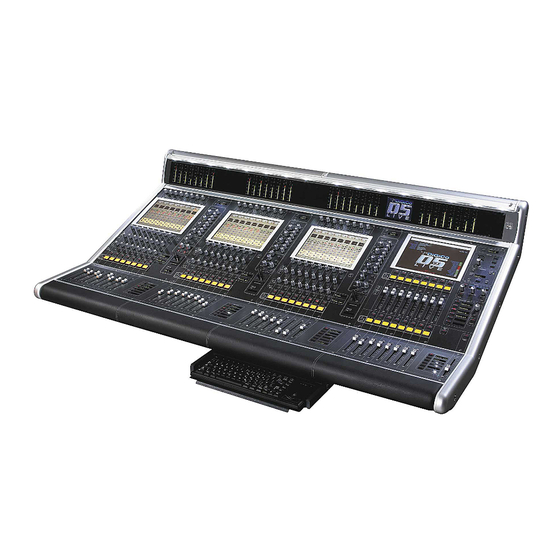
digico D5 Live Schnellstart-Handbuch - Seite 4
Blättern Sie online oder laden Sie pdf Schnellstart-Handbuch für Mischpult digico D5 Live herunter. digico D5 Live 18 Seiten. Digital console

Setup & Installation Manual
D5 QUICK START GUIDE.
If you trying to get sounds from the mixer without reading the whole installation and operating manuals,
Please at least read this page first!
CONNECTING UP
The Digico D5 consists of the Mixer, 2 or 3 audio interface racks and various cables. Refer to the connection diagram following.
The "Local" Rack has an approximately equal mix of XLR inputs and outputs and few AES/EBU connections on 1 module. This is used
adjacent to the mixer for local inputs and outputs such as FX send/returns. It has no optical connection.
The "Stage" Rack(s) have mostly XLR mic inputs and just 8 XLR line outputs. This is for mic connections and amplifier outputs at the
stage. It has 2 optical connections.
1. Connect the optical cable between console optical B to optical A of the first stage rack with 56 inputs (7 x 8 way input modules). The
Opticals operate in 2 directions at once, so there is only 1 cable for in and out!
2. In the larger D5-96, the second (40 input) stage rack is connected to the first stage rack by a short optical cable from rack 1 optical B to
rack 2 optical A. As shipped, the mixer and second rack should be configured to send and receive signals to this second independent
rack correctly.
3. Connect 2 x BNC cables between MADI input/output B on the console engine back panel and local rack MADI input/output B. Send
from the console output to the rack input and so on.
There is no need at this stage to add the optional redundant second optical ring connection, if this option has been provided.
4. Each unit has 2 mains input cables. Whilst the system is designed to be able to operate with just 1 supply switched on any one unit,
use both mains supplies on all units to ensure all fans are working to keep the system properly cooled.
Connect all mains cables to the supply. There are no adjustments, the system has auto mains sensing.
5. Switch on! The mixer will start up in exactly the same configuration as last switched off.
GETTING A BASIC AUDIO SIGNAL SETUP
As default, all inputs are routed to masters.
6. Connect a CD to input channels 9 & 10 on the local rack, touch the top of channel 9 and the input routing will appear. Scroll until you
find Local 1-8 and touch, then scroll until you find Local 1 and touch. Now repeat for channel 10 and assign to Local 2, you should see
signal on the meters.
The masters must now be routed to an output so go to the output screen, let's use matrix 1 for L and matrix 2 for R.
7. Touch "Matrix Inputs" along the top of the output screen. Touch the top label on Matrix 1, the routing assign will appear. Scroll down
until you see "Stereo Buss and touch. Now touch "Master L".
8. Touch the top label on Matrix 2, the routing assign will appear. Scroll down until you see "Stereo Buss" and touch. Now touch "Master
R".
9. The Matrix sends must now be turned on. Touch the screen control knob on Matrix 1 and it will light up (touch to assign-touch to de-
assign). Make sure the send is turned on by touching on/off switch. Look for the Matrix control panel on the extreme right of the console
on the output section, there is a physical control and an on/off button plus a Matrix assign button. Once the screen matrix send is
assigned, you can control the level via the physical knob, switch it on and off and maximise or minimise the screen matrix display.
10. Now turn Matrix 1 up or down and repeat for Matrix 2.
Now we have to route the Matrix outputs, so touch "Buss Outputs" along the top of the output screen.
11. Touch the label on Matrix 1 and the output routing will appear. Scroll down until you see "Stage 1-8" and touch. Now touch output 1.
12. Touch the label on Matrix 2 and the routing will appear. Scroll down until you see "Stage 1-8" and touch. Now touch output 2.
You should now have the stereo buss coming out of 1 & 2 on the stage rack.
Remember, a digital console can be considered as a huge matrix and it must be told where to receive from and where to output to.
(Above notes refer to for V 1.02 screen software, V1.05 Optocore firmware)
Page 4
