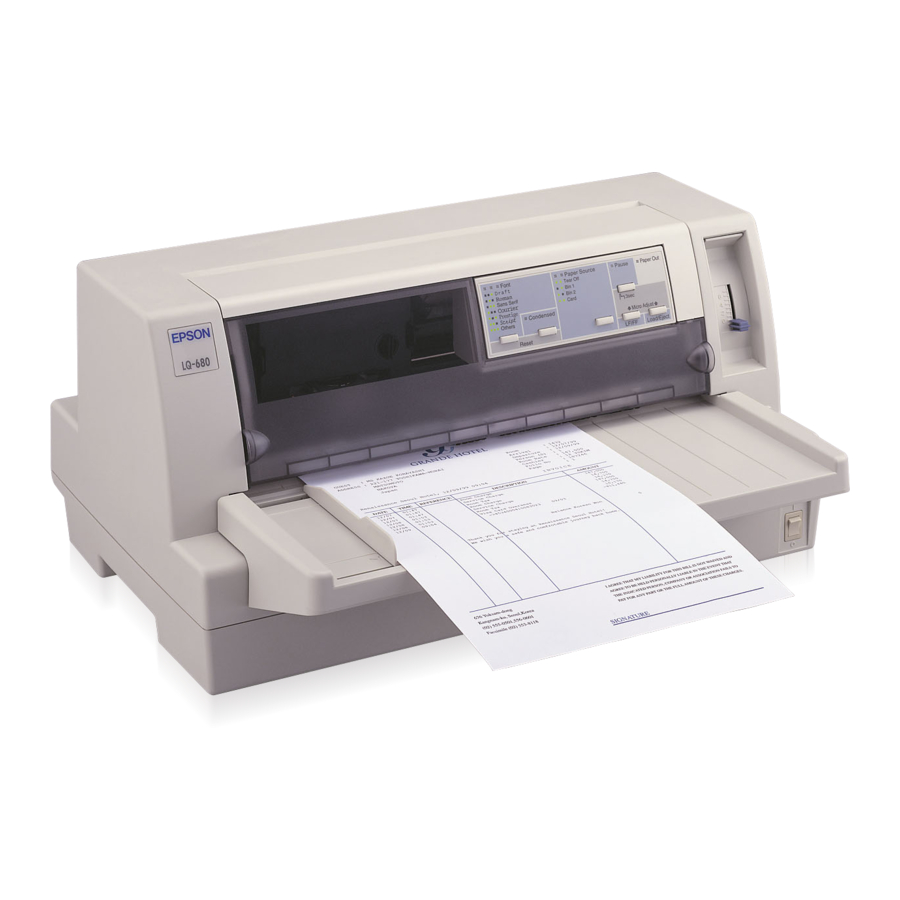
EPSON LQ-680Pro
Adjusting the Printing Position
The printing position is the position on the page where the
print head actually prints during a print job. You can change
the current vertical printing position temporarily by using the
micro adjust feature as described in the steps below.
Your printing position setting is in effect only until the
next time you load paper or turn off the printer.
1. Make sure that the printer is not printing. If it is, press the
button to stop printing.
Pause
2. Hold down the
Pause
light begins flashing and the printer enters the micro
Pause
adjust mode.
3. If necessary, open the printer cover to check the printing
position, and press the
forward or the
Load/Eject
backward.
4. When your paper is positioned correctly, press the
button to turn off micro adjust mode and resume printing.
Adjusting the Tear-off Position
If your continuous paper perforation is not aligned with the
tear-off edge, you can use the micro adjust feature to move the
perforation to the tear-off position as follows:
1. Make sure both
Tear Off
the current tear-off position). You may need to press the
button.
Tear Off
2. Hold down the
Pause
light begins flashing and the printer enters the micro
Pause
adjust mode.
3. Press the
D button to feed paper forward, or press the
LF/FF
U button to feed paper backward, until the
Load/Eject
paper perforation is aligned with the tear-off edge.
12 - EPSON LQ-680Pro
button for about three seconds. The
D button to feed paper
LF/FF
U button to feed paper
lights are flashing (the paper is at
button for about three seconds. The
4. Tear off the printed pages.
5. Press the
When you resume printing, the printer automatically feeds the
paper back to the top-of-form position and begins printing.
Your tear-off position setting remains in effect until you change
it, even if you turn off the printer.
Clearing Paper Jams
1. Turn off the printer.
2. If a single sheet of paper is stuck on the paper guide, gently
remove it.
3. Remove the printer cover. If continuous paper from the rear
slot is loaded in the printer, remove the paper guide.
Pause
4. If continuous paper is jammed in the printer, tear off the
supply at the perforation nearest the paper entry slot.
5. Turn the knob away from you to eject the paper in the
printer. Remove any remaining pieces of paper.
6. Replace the paper guide, if necessary, and replace the printer
cover. Then close the paper guide cover.
7. Turn on the printer. Make sure the
lights are off.
11/00
The printer has a minimum and a maximum tear-off
position. If you try to adjust the tear-off position beyond
these limits, the printer beeps and stops moving the
paper.
button to turn off micro adjust mode.
Pause
Use the knob to clear paper jams only when the printer
is turned off; otherwise, you may damage the printer or
lose the top-of-form or tear-off position.
and
Paper Out
Pause